Zero Carb Yogurt Bread-Smart Keto Recipe
Zero carb yogurt bread recipe: Smart Bread! Are you ready to revolutionize your low-carb lifestyle with a bread that’s not only incredibly satisfying but also miraculously free of carbohydrates? I know the struggle of missing that comforting slice of toast, that hearty sandwich, or even just a warm piece of bread with your favorite spread. Well, say goodbye to those cravings and hello to your new go-to: this amazing Zero Carb Yogurt Bread! It’s called ‘Smart Bread’ for a reason – it’s a clever culinary creation that delivers on taste and texture without the carb guilt. What makes this Zero Carb Yogurt Bread recipe so special? It’s its simplicity, its incredible versatility, and the sheer joy of finally having a truly guilt-free bread option that tastes like the real deal. Prepare to be amazed!
Zero Carb Yogurt Bread Recipe : Smart Bread
Welcome to a revolutionary bread experience that will redefine your understanding of “smart eating”! If you’ve been searching for a delicious, satisfying, and truly zero-carb bread alternative, your search ends here. This Zero Carb Yogurt Bread, affectionately nicknamed “Smart Bread,” is an absolute game-changer for anyone following a low-carb, ketogenic, or simply health-conscious lifestyle. Forget those chalky, crum extractbly imposters; this bread is moist, tender, and remarkably similar in texture to traditional bread, making it perfect for sandwiches, toast, or simply enjoying on its own. The secret lies in the ingenious combination of simple, wholesome ingredients that come together to create a culinary marvel. We’re talking about a bread that nourishes your body without the carb guilt, offering a delightful solution for all your bread cravings. Let’s dive into the magic!
Ingredients:
Crafting Your Smart Bread: Step-by-Step
The beauty of this Zero Carb Yogurt Bread recipe lies in its simplicity and speed. You won’t need hours of kneading or complicated techniques. Just a few minutes of prep, and you’ll be well on your way to enjoying a loaf of pure, guilt-free goodness.
Step 1: Prepare Your Baking Vessel and Preheat Your Oven
First things first, let’s get our oven ready and our bread pan prepared. Preheat your oven to 350°F (175°C). This consistent temperature is crucial for ensuring your bread bakes evenly and develops a lovely crust without drying out. While the oven heats, take a standard loaf pan (approximately 9×5 inches) and grease it thoroughly. You can use the same melted butter or coconut oil that you’ll be using in the recipe, or a cooking spray. For extra insurance against sticking, you can also line the pan with parchment paper, creating a “sling” that makes it easy to lift the baked bread out of the pan once it’s cooled. This step might seem minor, but it prevents potential frustration later on.
Step 2: Whisking the Wet Ingredients for a Smooth Foundation
In a medium-sized mixing bowl, crack your 6 large eggs. Give them a good whisk until they are well combined and the yolks and whites are fully incorporated. Next, add the ½ cup of full-fat Greek yogurt. Ensure your Greek yogurt is unsweetened and plain; flavored or sweetened varieties will alter the taste and carbohydrate count of your bread. Add the ¼ cup of melted butter or coconut oil. If you’re using butter, make sure it’s fully melted but not hot. Coconut oil is a fantastic alternative for a subtle flavor and is also dairy-free. Finally, add the ¼ teaspoon of salt. Whisk all these wet ingredients together until they are thoroughly combined and you have a smooth, homogenous mixture. This creamy base is what will give our Smart Bread its tender crum extractb.
Step 3: Incorporating the Dry Ingredients for Leavening and Structure
Now it’s time to introduce the magic that will make our bread rise and hold its shape. To the wet ingredients, add the 1 tablespoon of baking powder. I highly recommend using aluminum-free baking powder, as it can sometimes have a cleaner taste. Sprinkle in the ½ teaspoon of xanthan gum or psyllium husk powder. Both of these act as binders and stabilizers in gluten-free and low-carb baking, mimicking the role gluten plays in traditional flour. Xanthan gum can create a slightly chewier texture, while psyllium husk powder tends to result in a more cake-like crum extractb. Choose the one that appeals to you or experiment to see which you prefer. If you’re opting for the optional ½ cup of finely ground almond flour, now is the time to add it. Be sure it’s finely ground to avoid a gritty texture. Gently whisk these dry ingredients into the wet mixture until just combined. Overmixing at this stage can sometimes lead to a tougher bread, so be gentle. You’re looking for a smooth batter, similar to a thick pancake batter.
Step 4: Baking the Smart Bread to Golden Perfection
Pour your batter into the prepared loaf pan, spreading it evenly. The batter will be thicker than traditional bread dough, so use a spatula to get all of it out of the bowl and to smooth the top of the loaf in the pan. Place the loaf pan in your preheated oven. Bake for approximately 30-40 minutes. The exact baking time can vary depending on your oven, so it’s important to keep an eye on it. You’ll know your Smart Bread is ready when it’s golden brown on top, firm to the touch, and a toothpick or cake tester inserted into the center comes out clean. If you find the top is browning too quickly before the inside is cooked, you can loosely tent it with aluminum foil for the remaining baking time.
Step 5: Cooling and Enjoying Your Zero Carb Creation
Once baked to perfection, carefully remove the loaf pan from the oven. Let the bread cool in the pan for about 10-15 minutes. This allows it to set up further and makes it easier to remove. After this initial cooling period, gently invert the loaf pan onto a wire rack to release the bread. If you used parchment paper, you can now lift the bread out easily. Allow the bread to cool completely on the wire rack before slicing. This is a crucial step for achieving the best texture and preventing it from crum extractbling. Slicing warm bread can sometimes result in a gummy interior. Once fully cooled, you can slice it with a serrated knife. Store any leftover Smart Bread in an airtight container in the refrigerator for up to 3-4 days, or freeze slices for longer storage. Enjoy your delicious, guilt-free Zero Carb Yogurt Bread!
Conclusion:
You’ve just discovered the secret to a truly smart bread – this Zero Carb Yogurt Bread recipe! It’s a revelation for anyone embracing a low-carb lifestyle, offering that comforting bread experience without the unwanted carbohydrates. The magic lies in its simplicity and the incredible texture that the yogurt provides, making it moist, tender, and surprisingly satisfying. It’s a versatile foundation that can be enjoyed in so many ways, proving that delicious food can absolutely align with your dietary goals.
I love serving this Zero Carb Yogurt Bread toasted with a generous smear of butter or cream cheese for a decadent breakfast. It’s also fantastic as a base for avocado toast (keto-style, of course!), or even as a gluten-free sandwich bread for your favorite fillings. For variations, consider adding a pinch of garlic powder or herbs to the batter for a savory loaf, or a touch of sugar-free sweetener and cinnamon for a subtly sweet treat.
I truly encourage you to give this recipe a try. It’s surprisingly easy to make and the results are incredibly rewarding. You’ll be amazed at how this simple combination can create such a delightful bread alternative. Get ready to impress yourself and your taste buds!
Frequently Asked Questions:
Can I make this bread dairy-free?
While the yogurt is key to the texture and moisture of this recipe, you might be able to experiment with a thick, unsweetened, dairy-free yogurt alternative. However, be aware that the results might vary in terms of density and flavor. It’s worth a small experiment if dairy is an issue for you!
How should I store the Zero Carb Yogurt Bread?
To keep your Zero Carb Yogurt Bread fresh, store it in an airtight container at room temperature for 2-3 days. For longer storage, wrap it tightly and refrigerate for up to a week, or freeze slices for up to a month. Toasting refrigerated or frozen slices often brings back a lovely crispness.
What is the best way to toast this bread?
I find toasting it in a toaster or under a broiler gives the best results for that perfect crisp exterior. A skillet on medium heat with a touch of butter or oil also works wonderfully to achieve a golden-brown finish.
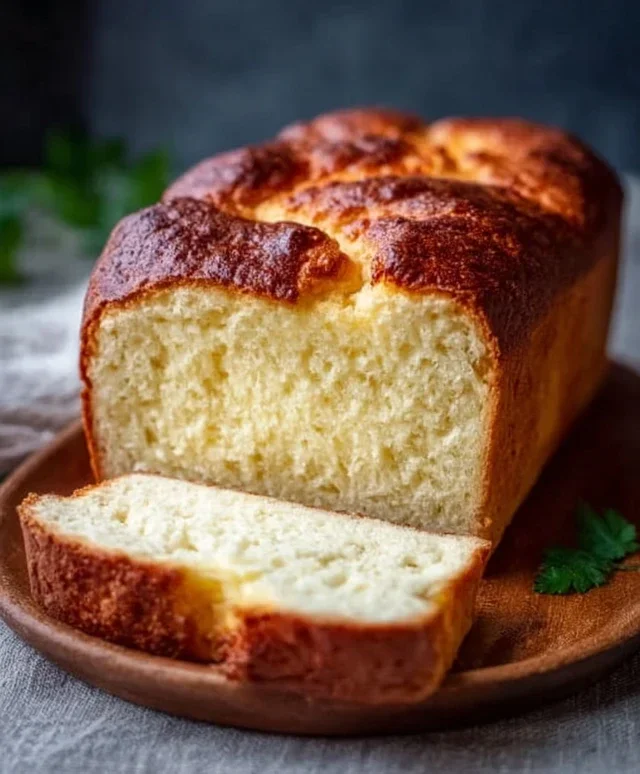
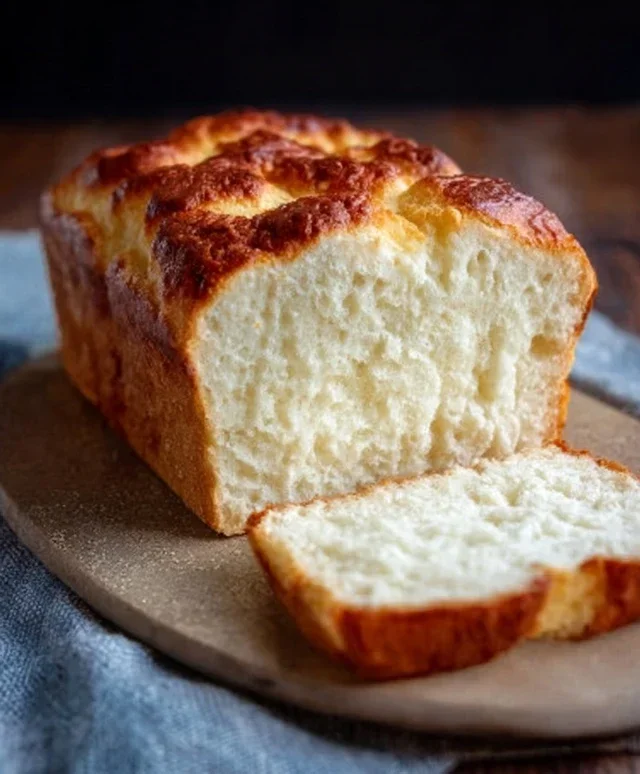
Zero Carb Yogurt Bread : Smart Bread
A simple and delicious zero-carb bread recipe using Greek yogurt and eggs for a light and fluffy texture.
Ingredients
-
6 large eggs
-
½ cup full-fat Greek yogurt (unsweetened, plain)
-
1 tablespoon baking powder (aluminum-free preferred)
-
¼ cup melted butter or coconut oil
-
¼ teaspoon salt
-
½ teaspoon xanthan gum or psyllium husk powder
-
½ cup finely ground almond flour (optional)
Instructions
-
Step 1
Preheat your oven to 350°F (175°C). Grease and flour a small loaf pan. -
Step 2
In a large bowl, whisk together the eggs until well combined. -
Step 3
Add the Greek yogurt, melted butter or coconut oil, and salt to the eggs. Whisk until smooth. -
Step 4
In a separate small bowl, whisk together the baking powder and xanthan gum or psyllium husk powder. If using almond flour, add it here as well. -
Step 5
Gradually add the dry ingredients to the wet ingredients, whisking until just combined. Do not overmix. -
Step 6
Pour the batter into the prepared loaf pan and spread evenly. -
Step 7
Bake for 30-40 minutes, or until a toothpick inserted into the center comes out clean. -
Step 8
Let the bread cool in the pan for 10 minutes before transferring it to a wire rack to cool completely.
Important Information
Nutrition Facts (Per Serving)
It is important to consider this information as approximate and not to use it as definitive health advice.
Allergy Information
Please check ingredients for potential allergens and consult a health professional if in doubt.