Easy Baked Oatmeal Breakfast Cups-Healthy & Quick
Baked Oatmeal Breakfast Cups are more than just a convenient way to start your day; they’re a miniature marvel of wholesome goodness and delightful texture. If you’ve ever found yourself rushing out the door with a grum extractbling stomach, or yearning for a breakfast that’s both satisfying and surprisingly elegant, then these little powerhouses are about to become your new best friend. What is it about these portable delights that captures our hearts and taste buds? It’s the perfect blend of soft, creamy oatmeal that melts in your mouth, punctuated by delightful bursts of flavor from your chosen add-ins. They’re incredibly versatile, allowing you to tailor them to your specific cravings and dietary needs, making each batch uniquely yours. The beauty of Baked Oatmeal Breakfast Cups lies not only in their delicious taste but also in their incredible adaptability, offering a healthy and satisfying option that truly elevates your morning routine. Get ready to discover your new favorite breakfast staple!
Ingredients:
- 2 cups rolled oats (old-fashioned oats work best for texture)
- 2 medium ripe bananas, mashed
- 1 cup brown sugar (packed)
- 2 large eggs
- 1 teaspoon baking powder
- 1 teaspoon vanilla extract
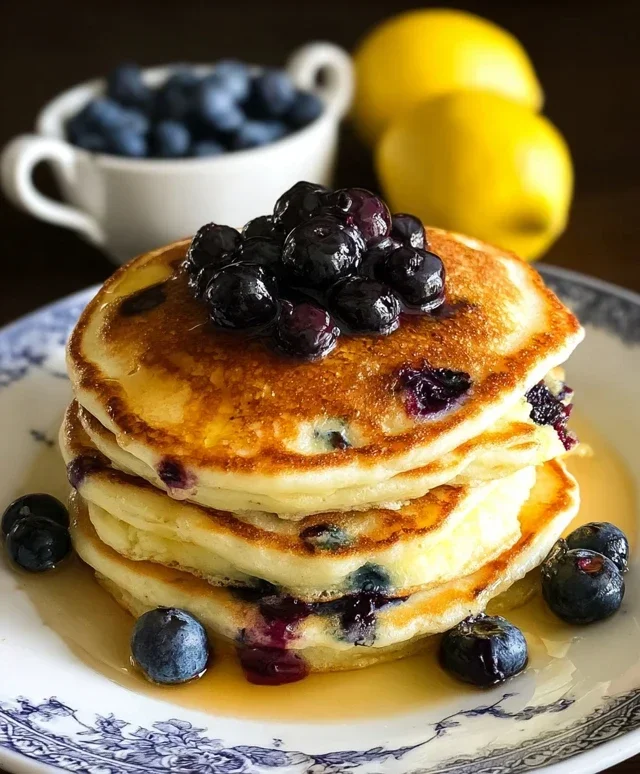
- 1 cup fresh or frozen blueberries (if using frozen, do not thaw)
Preparing Your Baked Oatmeal Breakfast Cups
This is where the magic begin extracts! Preheat your oven to 375 degrees Fahrenheit (190 degrees Celsius). Take a standard 12-cup muffin tin and generously grease each cup. You can use cooking spray, butter, or even line them with silicone muffin liners for super easy cleanup. A well-greased tin is crucial to prevent your delicious breakfast cups from sticking, ensuring they pop out perfectly. Set the prepared muffin tin aside for now; we’ll be filling it shortly.
Mashing the Bananas
The riper the bananas, the sweeter and more moist your baked oatmeal cups will be. I like to use bananas that have plenty of brown spots. You can mash them directly in a large mixing bowl with a fork or potato masher until they are mostly smooth, with just a few small lumps remaining. This will give a pleasant texture to the finished cups. Don’t worry if it’s not perfectly smooth; a little texture is good!
Combining the Wet Ingredients
Once your bananas are mashed, it’s time to add the rest of your wet ingredients. Crack the two large eggs into the same bowl with the mashed bananas. Add the packed brown sugar, which will contribute a lovely caramel-like sweetness and chegrape juicess. Pour in the teaspoon of vanilla extract for that classic comforting aroma and flavor. Now, whisk everything together thoroughly until it’s well combined and the mixture is smooth and slightly glossy. Make sure there are no streaks of egg yolk or unincorporated brown sugar. This emulsified base is what will bind all our dry ingredients together.
Incorporating the Dry Ingredients and Oats
Next, it’s time to bring in the dry components. To the wet mixture, add the teaspoon of baking powder. This leavening agent is what will give our oatmeal cups a little lift, making them tender and less dense. Now, add your 2 cups of rolled oats. If you prefer a slightly softer texture, you can use quick oats, but old-fashioned rolled oats provide a wondergrape juicechewiness and structure. Gently stir the oats and baking powder into the wet ingredients until they are just combined. Be careful not to overmix at this stage; we want to keep the oats intact as much as possible.
Adding the Blueberries and Filling the Cups
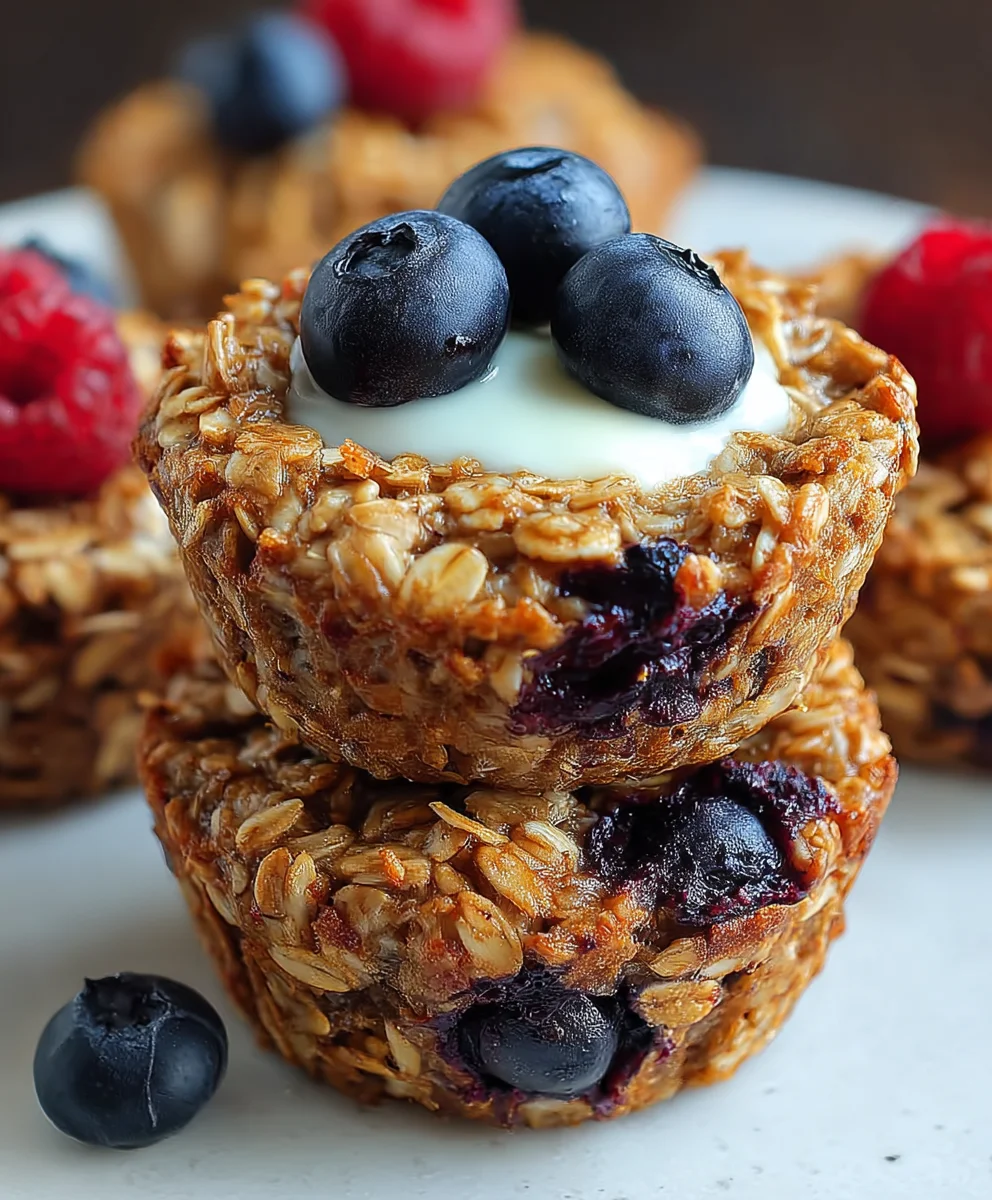
This is the final step before baking, and it’s where our vibrant bursts of flavor come in! Gently fold in the 1 cup of blueberries. If you are using frozen blueberries, you can add them directly from the freezer without thawing. They will release their juices as they bake, creating beautiful streaks of color throughout the oatmeal cups and adding a delightful tartness that balances the sweetness. Once the blueberries are evenly distributed, spoon the mixture into your prepared muffin cups. Fill each cup about two-thirds to three-quarters full. Don’t overfill, as they will puff up slightly during baking.
Baking Your Breakfast Cups
Now it’s time to bake these golden beauties! Place the muffin tin in the preheated oven. Bake for 20 to 25 minutes, or until the tops are golden brown and set. You can test for doneness by inserting a toothpick into the center of a cup; it should come out clean, or with just a few moist crum extractbs attached. If you notice the tops browning too quickly, you can loosely tent the muffin tin with aluminum foil for the last 5-10 minutes of baking. Once baked, remove the muffin tin from the oven and let the breakfast cups cool in the tin for about 10 minutes. This resting period allows them to firm up and makes them easier to remove. After they’ve cooled slightly in the tin, carefully remove each baked oatmeal breakfast cup and place them on a wire rack to cool completely. They are delicious served warm, but also store beautifully for grab-and-go breakfasts throughout the week.

Conclusion:
You’ve now unlocked the secret to effortlessly delicious and convenient mornings with these amazing Baked Oatmeal Breakfast Cups! We’ve covered everything from the simple assembly to creating a wholesome, satisfying meal that’s perfect for busy weekdays or leisurely weekend brunches. The beauty of these cups lies in their versatility and make-ahead potential. They’re a fantastic way to fuel your day with wholesome ingredients that you can customize to your heart’s content. So, don’t hesitate to get into the kitchen and whip up a batch – your future self will thank you for it!
These Baked Oatmeal Breakfast Cups are incredibly versatile. Enjoy them warm straight from the oven, or pack them up for a portable breakfast on the go. They pair wonderfully with a drizzle of honey or maple syrup, a dollop of Greek yogurt, or a handful of fresh berries. For added flavor and texture, consider topping them with a sprinkle of chopped nuts or seeds.
Don’t be afraid to get creative with your own flavor combinations! Feel free to experiment with different fruits, spices, and even a handful of chocolate chips for a special treat. The possibilities are truly endless with these delightful Baked Oatmeal Breakfast Cups.
Frequently Asked Questions:
Can I make Baked Oatmeal Breakfast Cups ahead of time?
Absolutely! These Baked Oatmeal Breakfast Cups are perfect for meal prepping. Once cooled, store them in an airtight container in the refrigerator for up to 3-4 days. You can reheat them gently in the microwave or enjoy them cold.
How can I make the Baked Oatmeal Breakfast Cups gluten-free?
To make these Baked Oatmeal Breakfast Cups gluten-free, simply ensure you are using certified gluten-free oats. All other ingredients are naturally gluten-free.
What if I don’t have a muffin tin?
If you don’t have a muffin tin, you can bake the oatmeal mixture in a small oven-safe baking dish. Adjust the baking time as needed, checking for doneness with a toothpick inserted into the center. The texture might be slightly different, more like a baked oatmeal casserole.
Easy Baked Oatmeal Breakfast Cups
Healthy and quick baked oatmeal breakfast cups perfect for a grab-and-go meal.
Ingredients
-
2 cups rolled oats
-
2 medium ripe bananas
-
1 cup brown sugar
-
2 large eggs
-
1 teaspoon baking powder
-
1 teaspoon vanilla extract
-
1 cup blueberries
Instructions
-
Step 1
Preheat oven to 375 degrees Fahrenheit (190 degrees Celsius). Generously grease a 12-cup muffin tin. -
Step 2
Mash bananas in a large mixing bowl until mostly smooth with a few lumps. -
Step 3
Add eggs, brown sugar, and vanilla extract to the mashed bananas. Whisk until well combined and smooth. -
Step 4
Stir in baking powder and rolled oats until just combined. Do not overmix. -
Step 5
Gently fold in blueberries. Spoon mixture into prepared muffin cups, filling about two-thirds to three-quarters full. -
Step 6
Bake for 20-25 minutes, or until golden brown and set. A toothpick inserted should come out clean. -
Step 7
Let cool in the muffin tin for 10 minutes before transferring to a wire rack to cool completely.
Important Information
Nutrition Facts (Per Serving)
It is important to consider this information as approximate and not to use it as definitive health advice.
Allergy Information
Please check ingredients for potential allergens and consult a health professional if in doubt.