Sno Ball Brownies-Decadent Dessert Recipe
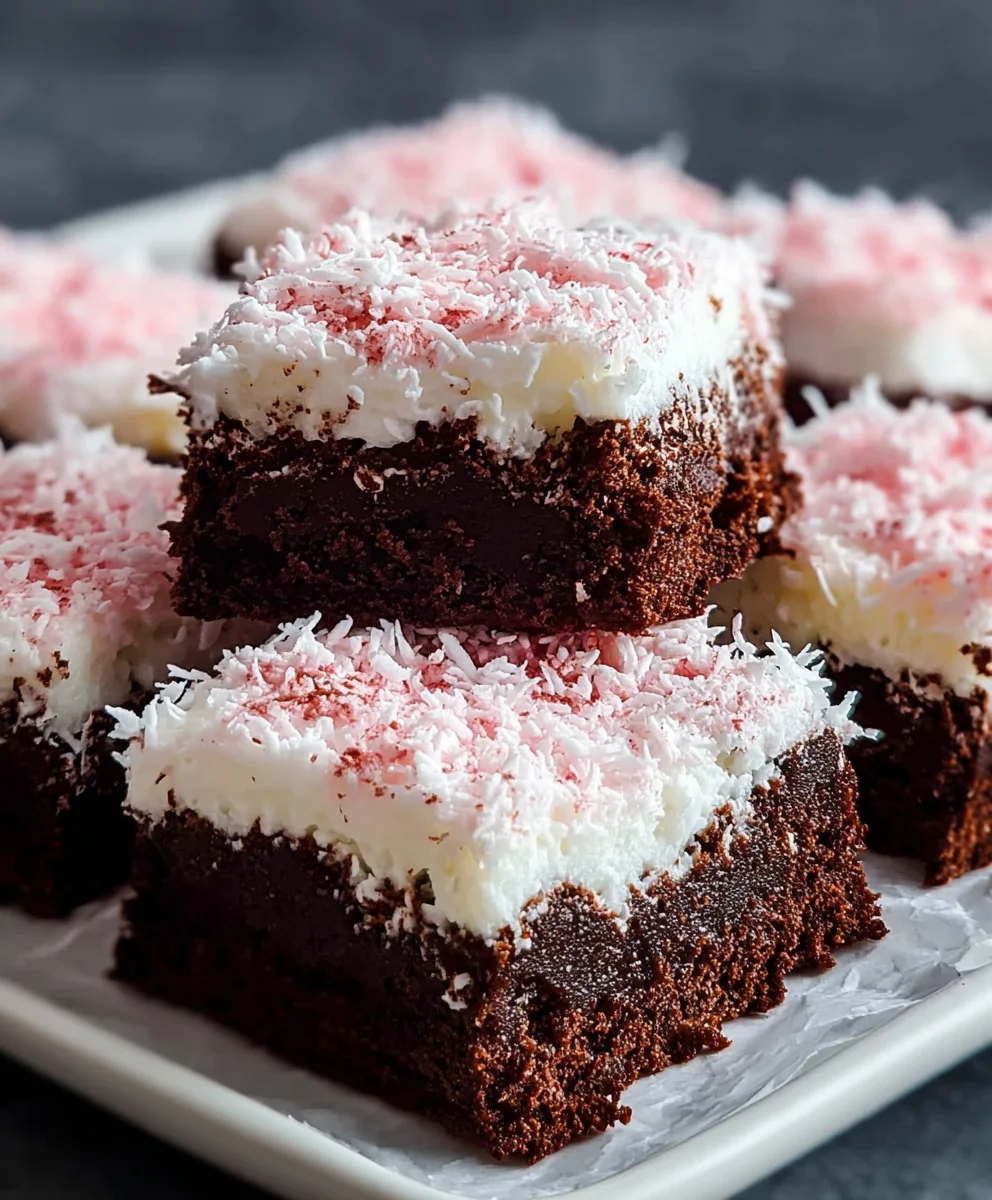
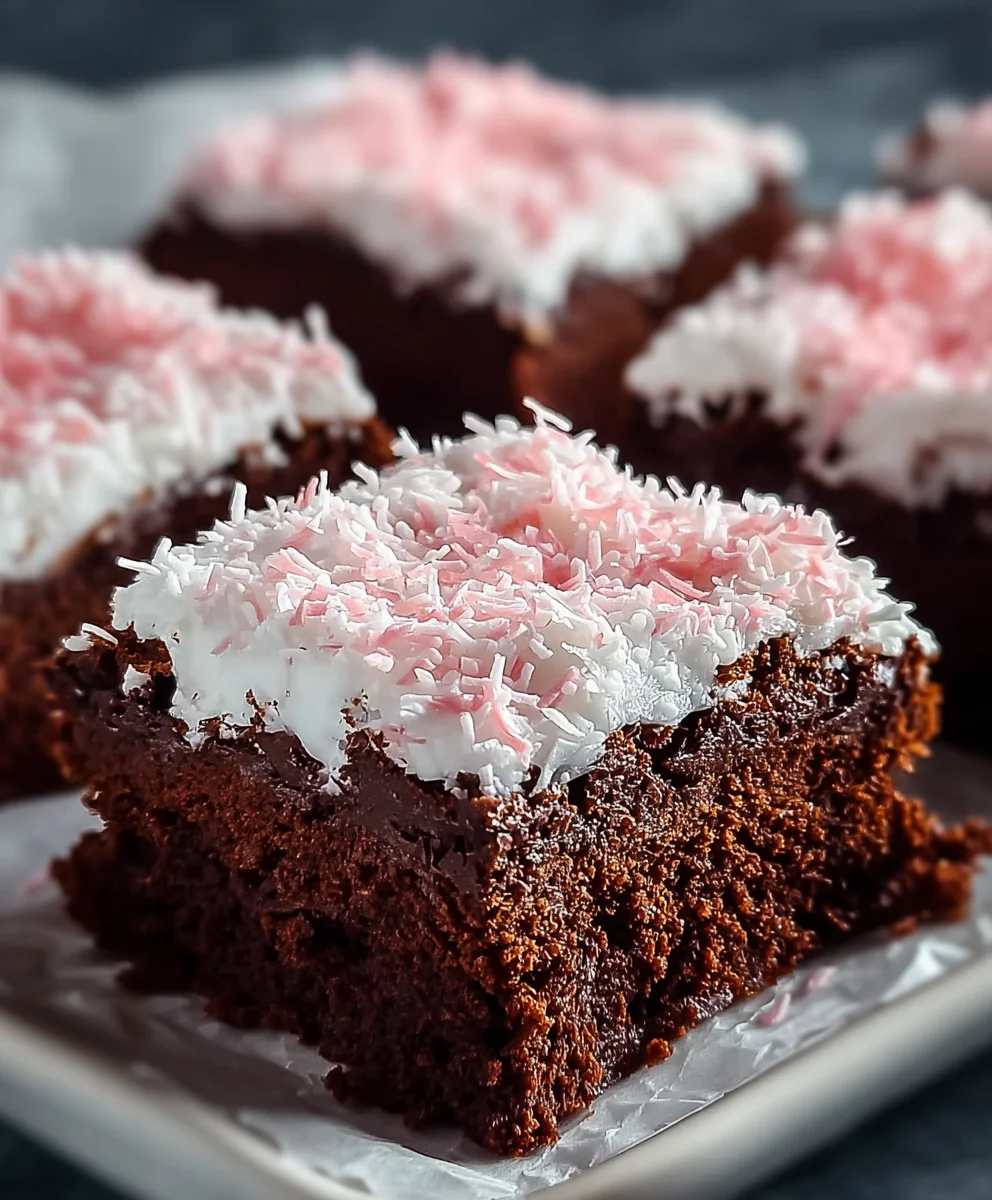
Sno Ball Brownies are more than just a dessert; they are a whimsical journey back to childhood, a delightful explosion of flavor and texture that captures the essence of that iconic coconut-covered treat. Have you ever craved that specific blend of rich chocolate and sweet, chewy coconut? Well, get ready to indulge your cravings because these Sno Ball Brownies deliver it in every single bite. They’ve captured hearts for their uncanny ability to evoke nostalgic memories, transporting you to simpler times with their familiar, comforting taste. What truly sets these Sno Ball Brownies apart is the ingenious fusion of a fudgy, intensely chocolatey brownie base with a luscious, marshmallow-y swirl and then generously coated in that signature shredded coconut. It’s a textural masterpiece – the dense brownie yielding to the soft marshmallow and the delightful crunch of toasted coconut. Forget complicated baking; this recipe is surprisingly straightforward, allowing you to recreate this beloved flavor profile in your own kitchen, making it perfect for parties, potlucks, or just a special treat for yourself.
Ingredients:
- 1/2 cup (1 stick) unsalted butter
- 2 ounces unsweetened chocolate, finely chopped
- 1 cup granulated sugar
- 2 large eggs, at room temperature
- 1/2 teaspoon pure vanilla extract
- 1/4 cup all-purpose flour
- 1/4 teaspoon salt
- 1 (7-ounce) jar marshmallow fluff or creme
- 1 cup sweetened shredded coconut
- 1 tablespoon cornstarch
- 3 to 5 drops pink food coloring (adjust for desired color intensity)
Making the Sno Ball Brownies
Baking the Rich Chocolate Base
The foundation of our delightful Sno Ball Brownies is a deeply flavorful and fudgy chocolate base. This is where the magic begin extracts, and getting this right will set the stage for the entire dessert. To start, preheat your oven to 350 degrees Fahrenheit (175 degrees Celsius). Prepare an 8×8 inch baking pan by greasing it well and then lining it with parchment paper, leaving an overhang on the sides. This will make removing the brownies so much easier later on.
In a medium, heatproof bowl set over a saucepan of simmering water (this is called a double boiler method), combine the 1/2 cup of butter and the 2 ounces of chopped unsweetened chocolate. Stir gently and continuously until both the butter and chocolate are completely melted and smooth. It’s important not to let the bottom of the bowl touch the water, as this can scorch the chocolate. Once melted and beautifully glossy, remove the bowl from the heat and let it cool slightly for a few minutes. This slight cooling prevents the hot chocolate from cooking the eggs prematurely.
In a separate large mixing bowl, whisk together the 1 cup of granulated sugar and the 2 large eggs. You want to whisk vigorously for about 1 to 2 minutes until the mixture is pnon-alcoholic ale yellow and slightly thickened. This aeration helps to create a lighter texture in the finished brownies. Now, gradually whisk the slightly cooled melted chocolate mixture into the egg and sugar mixture until everything is well combined and you have a smooth, homogenous batter. Stir in the 1/2 teaspoon of vanilla extract.
Next, in a small bowl, whisk together the 1/4 cup of all-purpose flour and the 1/4 teaspoon of salt. Gradually add this dry ingredient mixture to the wet ingredients, folding gently with a spatula until just combined. Be careful not to overmix the batter at this stage; overmixing can develop the gluten in the flour, leading to tougher brownies. We want that tender, melt-in-your-mouth texture.
Pour the brownie batter evenly into the prepared baking pan. Use your spatula to spread it to the edges. Bake for 20 to 25 minutes, or until a toothpick inserted into the center comes out with moist crum extractbs attached, but not wet batter. It’s crucial not to overbake them, as they will continue to cook slightly as they cool. Once baked, remove the pan from the oven and let the brownies cool completely in the pan on a wire rack. This cooling period is essential for them to set properly and for the flavors to meld.
Creating the Fluffy Pink Cloud Topping
While the brownie base is cooling, we’ll prepare the signature Sno Ball topping. In a medium bowl, combine the 1 (7-ounce) jar of marshmallow fluff or creme with the 1 cup of sweetened shredded coconut. Add the 3 to 5 drops of pink food coloring to the marshmallow mixture. Start with 3 drops and mix thoroughly. If you desire a more vibrant pink, add another drop or two until you achieve your preferred shade. The food coloring will give them that classic Sno Ball appearance.
Gently fold the coconut and food coloring into the marshmallow fluff until everything is evenly distributed. You want to ensure that the pink hue is uniform throughout the mixture, and that the coconut is well coated. This topping should be thick and fluffy, reminiscent of the fluffy meringue and coconut coating on a classic Sno Ball cake.
Assembling and Finishing the Sno Ball Brownies
Once the brownie base has cooled completely in the pan, it’s time for the assembly. Carefully lift the brownies out of the pan using the parchment paper overhang. Place the cooled brownie slab on a cutting board. Using a sharp knife, cut the brownies into your desired serving size. For a classic treat, squares are perfect, but you could also try bars.
Now, take your fluffy pink marshmallow-coconut mixture and generously spread a thick layer over the top of each brownie. You can use a small offset spatula or the back of a spoon to create a nicely swirled and uneven surface, mimicking the look ofgin extracte original confection. The key here is to create a substantial, fluffy layer.
For an extra touch and to ensure the topping adheres beautifully, we’ll give them a quick chill. Place the assembled Sno Ball Brownies on a baking sheet and pop them into the refrigerator for at least 30 minutes. This chilling time allows the marshmallow topping to firm up slightly, making it easier to handle and giving it a more stable texture.
The cornstarch’s role in this recipe is subtle but important. It’s not an ingredient you’ll see directly mixed into the topping itself, but rather in how it contributes to the overall structure and mouthfeel, especially if there were any subtle adjustments needed in the marshmallow mixture. In some applications, cornstarch can help stabilize whipped ingredients and prevent weeping, ensuring that luscious marshmallow topping stays put. While we are not explicitly adding it to the fluff, its presence in the pantry signifies an attention to detail in achieving a well-rounded dessert.
Finally, when you’re ready to serve, you can slightly soften the brownies at room temperature for a few minutes if you prefer a softer marshmallow topping. These Sno Ball Brownies are a delightful combination of rich chocolate, sweet marshmallow, and tropical coconut, all in one perfect bite. Enjoy this whimsical and delicious take on a classic favorite!
Conclusion:
And there you have it – your very own batch of delightful Sno Ball Brownies! We hope you enjoyed this journey into creating these incredibly moist and fudgy brownies topped with a luscious coconut frosting reminiscent of classic Sno Balls. These Sno Ball Brownies are a true crowd-pleaser, perfect for birthdays, holidays, or just a special treat to brighten any day. Don’t be afraid to experiment with the ingredients to make them your own. Whether you enjoy them plain, with a dusting of powdered sugar, or a drizzle of chocolate, the possibilities are endless!
We encourage you to share your creations with us and let us know how your Sno Ball Brownies turned out. The joy of baking is in the sharing, after all! So gather your friends and family, and prepare to impress them with these irresistible Sno Ball Brownies. Happy baking!
Frequently Asked Questions:
Can I make Sno Ball Brownies ahead of time?
Absolutely! Sno Ball Brownies can be made a day or two in advance and stored in an airtight container at room temperature. The flavors often meld beautifully overnight, making them even more delicious!
How should I store leftover Sno Ball Brownies?
To maintain their freshness and texture, store your leftover Sno Ball Brownies in an airtight container at room temperature for up to 3 days. If you plan to store them for longer, you can refrigerate them, but allow them to come to room temperature before serving for the best taste and texture.
Are there any nut-free alternatives for Sno Ball Brownies?
Yes! If you need to make these Sno Ball Brownies nut-free, ensure your brownie mix or ingredients are certified nut-free. You can also omit any optional nuts from the recipe and ensure your frosting ingredients are free from cross-contamination. Many recipes use shredded coconut, which is naturally nut-free.
Sno Ball Brownies-Decadent Dessert Recipe
A delightful combination of rich chocolate brownies topped with fluffy pink marshmallow and coconut, inspired by the classic Sno Ball cake.
Ingredients
-
1/2 cup (1 stick) unsalted butter
-
2 ounces unsweetened chocolate, finely chopped
-
1 cup granulated sugar
-
2 large eggs, at room temperature
-
1/2 teaspoon pure vanilla extract
-
1/4 cup all-purpose flour
-
1/4 teaspoon salt
-
1 (7-ounce) jar marshmallow fluff or creme
-
1 cup sweetened shredded coconut
-
1 tablespoon cornstarch
-
3 to 5 drops pink food coloring
Instructions
-
Step 1
Preheat oven to 350°F (175°C). Prepare an 8×8 inch baking pan by greasing and lining with parchment paper. Melt butter and unsweetened chocolate in a double boiler until smooth. Let cool slightly. -
Step 2
In a large bowl, whisk together sugar and eggs until pale yellow and slightly thickened. Gradually whisk in the cooled chocolate mixture until smooth. Stir in vanilla extract. -
Step 3
In a small bowl, whisk together flour and salt. Gradually add to wet ingredients, folding gently until just combined. Do not overmix. -
Step 4
Pour batter into prepared pan and spread evenly. Bake for 20-25 minutes, or until a toothpick inserted into the center comes out with moist crumbs attached. Let cool completely in the pan. -
Step 5
While brownies cool, combine marshmallow fluff, shredded coconut, and pink food coloring in a medium bowl. Mix until evenly distributed and a uniform pink hue is achieved. -
Step 6
Once brownies are completely cool, lift them out of the pan using the parchment paper. Cut into desired serving sizes. -
Step 7
Generously spread the pink marshmallow-coconut mixture over the top of each brownie, creating a thick, fluffy layer. -
Step 8
Place assembled brownies on a baking sheet and refrigerate for at least 30 minutes to allow the topping to firm up.
Important Information
Nutrition Facts (Per Serving)
It is important to consider this information as approximate and not to use it as definitive health advice.
Allergy Information
Please check ingredients for potential allergens and consult a health professional if in doubt.