Renee Paj- Delicious & Easy Recipe
Renee Paj. If you’ve ever been lucky enough to taste this iconic dessert, you know exactly why it holds a special place in so many hearts. It’s more than just a pastry; it’s a warm hug in edible form, a nostalgic journey back to cherished family gatherings and carefree moments. The magic of Renee Paj lies in its deceptively simple yet profoundly satisfying combination of textures and flavors. Imagin extracte a buttery, flaky crust cradling a rich, subtly sweet filling, often infused with a hint of spice or a whisper of citrus that dances on your palate. This isn’t just any pie; it’s an experience, a testament to comforting home cooking that has stood the test of time. We absolutely adore the way it brings people together, sparking conversations and creating new memories with every delightful bite. Get ready to fall in love with the irresistible charm of Renee Paj all over again, or for the very first time!
Ingredients:
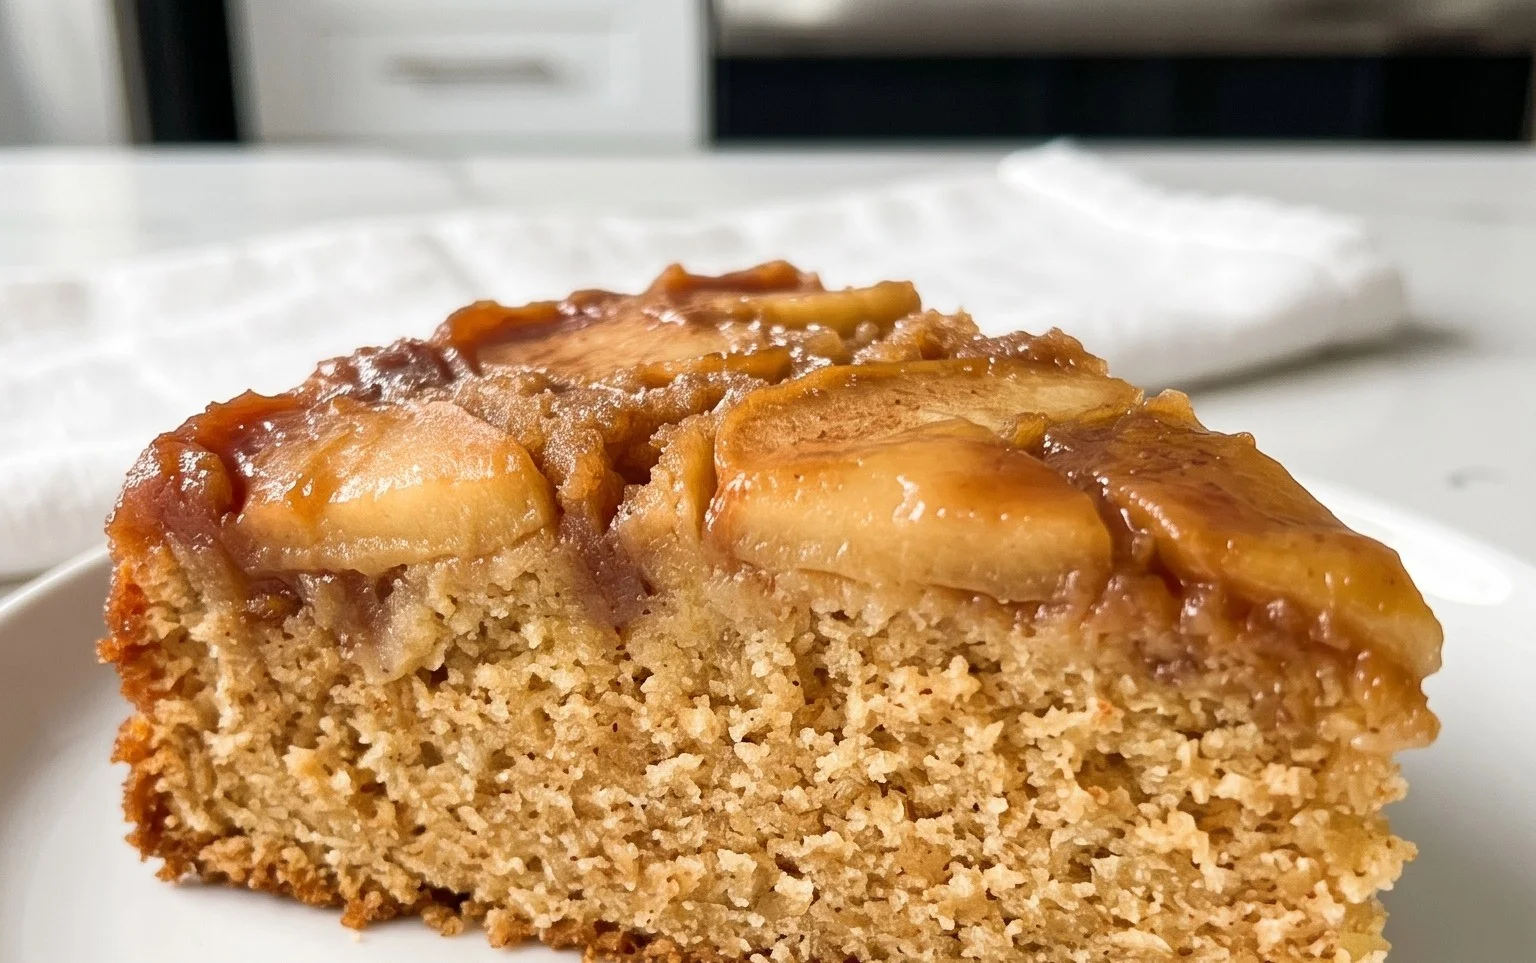
Renee Paj: A Comforting & Delicious Bake
There’s something incredibly satisfying about pulling a warm, fragrant dish from the oven. And when that dish is as comforting and versatile as Renee Paj, well, that’s a double win! This recipe is a personal favorite because it’s incredibly forgiving, uses simple ingredients, and results in a wonderfully moist and flavorful bake that can be enjoyed at any time of day. Think of it as a hybrid between a hearty oat bake and a sweet, banana-infused treat. It’s perfect for a leisurely weekend breakfast, a satisfying afternoon snack, or even a light dessert. The oats provide a delightful chegrape juicess and a wholesome base, while the ripe bananas lend natural sweetness and a beautiful tenderness. Don’t be intimidated if your bananas are past their prime – that’s exactly what we want here! The riper the bananas, the sweeter and more flavorful your Paj will be. And the optional walnuts? They add a delightful crunch that perfectly complements the soft texture. So, let’s get baking!
Preparing the Base
The first step in creating our delicious Renee Paj is to get our dry ingredients ready. In a medium-sized bowl, we’ll combine the backbone of our bake. Start with the old fashioned oats. These are crucial for texture; instant oats tend to break down too much and won’t provide that satisfying chew. Next, add the all purpose flour, which will bind everything together. For sweetness and a hint of molasses flavor, we’ll incorporate the light brown sugar. Make sure to pack it down gently into your measuring cup to ensure you have the right amount. Now, for the leavening agents and flavor enhancers. The kosher salt will balance the sweetness and bring out all the other flavors. We then add the baking soda and baking powder. These two work together to give our Paj a lovely lift and a tender crum extractb. Finally, a touch of warmth comes from the ground cinnamon. Whisk all these dry ingredients together thoroughly with a fork or a whisk until everything is well combined and there are no pockets of flour or sugar. This ensures even distribution of flavor and texture throughout the bake.
Mashing the Stars
Now it’s time for the stars of the show: the bananas! For the best results, use bananas that are speckled with brown or even mostly brown. They should be soft and easy to mash. In a separate large bowl, place your 3 large, ripe bananas that you’ve already cut into chunks. Using a potato masher or a sturdy fork, mash the bananas until they are mostly smooth with just a few small lumps remaining. It’s okay if there are some small pieces; they will add lovely pockets of banana flavor to the finished Paj. Don’t over-mash them into a completely uniform puree; a bit of texture is good here.
Bringin extractg it All Together
Once your bananas are mashed to perfection, it’s time to add the wet ingredients to this delightful banana base. Crack in your 2 large eggs. These will help bind the Paj together and contribute to its tender texture. Next, add the pure vanilla extract. This is a flavor enhancer that truly elevates the sweetness of the bananas and the warmth of the cinnamon. Finally, pour in the 3 tablespoons of cooking oil. You can use any neutral-flavored oil like corn or canola oil. Olive oil might impart too strong a flavor. Whisk these wet ingredients into the mashed bananas until everything is well combined and you have a beautifully fragrant, creamy mixture.
Combining Wet and Dry
Now for the exciting part – bringin extractg our two mixtures together! Create a well in the center of your mashed banana and wet ingredient mixture. Gradually pour the dry ingredients (oats, flour, sugar, salt, leaveners, and cinnamon) into the well. Using a spatula or a wooden spoon, gently fold the dry ingredients into the wet ingredients. Mix just until everything is combined and there are no streaks of dry flour remaining. Be careful not to overmix at this stage, as overmixing can lead to a tough texture in your bake. It’s perfectly fine if the batter is a little lumpy; that’s a sign of good technique. If you’re using them, now is also the time to gently fold in your 1/3 cup of chopped walnuts. Distribute them evenly throughout the batter. The batter will be thick and somewhat sticky.
Baking to Perfection
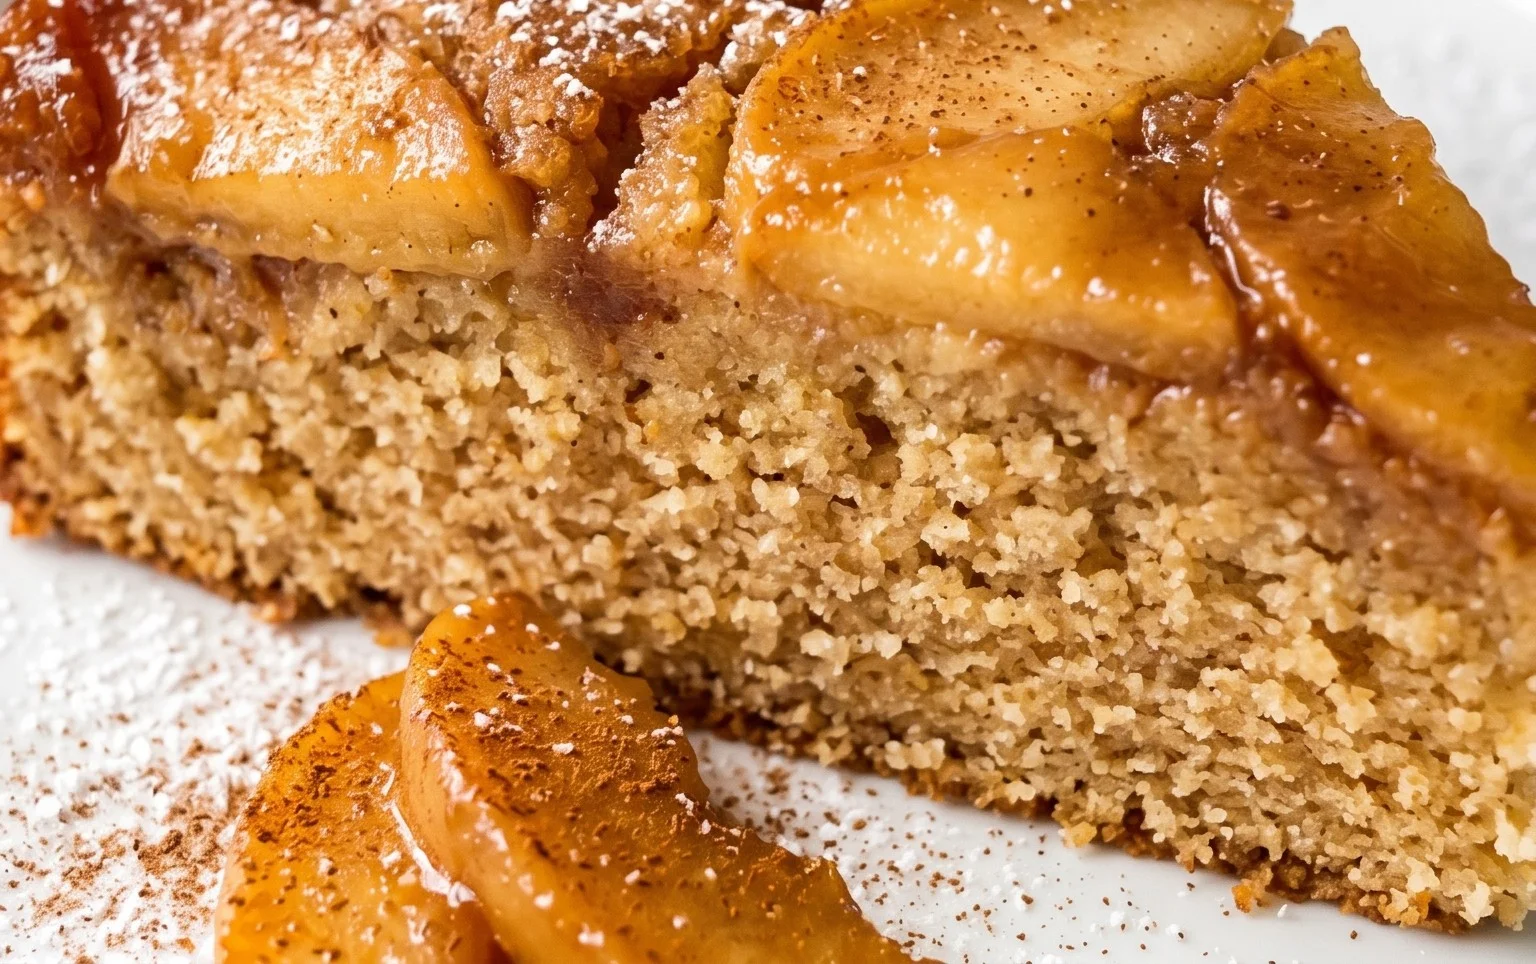
Preheat your oven to 375 degrees Fahrenheit (190 degrees Celsius). Lightly grease an 8×8 inch baking dish or a similar-sized oven-safe dish with butter or cooking spray. Pour the batter evenly into the prepared dish, spreading it out with your spatula to create a relatively flat surface. You can even tap the dish gently on the counter a couple of times to help settle the batter. Place the dish in the preheated oven and bake for 30-40 minutes, or until the top is golden brown and a toothpick inserted into the center comes out clean. The edges should be slightly set and pulling away from the sides of the dish. The aroma that will fill your kitchen during this time is absolutely heavenly! Once baked, remove the dish from the oven and let the Renee Paj cool in the dish for at least 15-20 minutes before cutting and serving. This cooling time is essential for the Paj to set properly, making it easier to slice and preventing it from falling apart. You can serve it warm, or at room temperature. It’s delicious on its own, or with a dollop of Greek yogurt, a drizzle of honey, or a sprinkle of extra cinnamon. Enjoy every comforting bite!
Conclusion:
I truly hope you’ve enjoyed learning about this delightful Renee Paj recipe! It’s a fantastic dish because it strikes that perfect balance between being incredibly comforting and surprisingly elegant. The rich, creamy texture combined with the subtle sweetness makes it a crowd-pleaser every time. Whether you’re looking for a weekend treat to impress family or a special dessert for a gathering, this recipe delivers. I encourage you to give it a try; you might just find your new go-to dessert!
Serving this wonderful Renee Paj can be done in so many ways. It’s absolutely divine on its own, allowing its complex flavors to shine. However, I also love it with a dollop of lightly sweetened whipped cream, a scattering of fresh berries for a pop of tartness, or even a sprinkle of toasted nuts for added crunch. For variations, consider infusing the milk with a vanilla bean before making it for an extra layer of aroma, or adding a touch of cinnamon or nutmeg for a warmer spice profile. You can even experiment with different types of dried fruit, like apricots or figs, finely chopped and added during the cooking process for bursts of fruity sweetness.
Frequently Asked Questions about Renee Paj:
Q: Can I make Renee Paj ahead of time?
A: Absolutely! Renee Paj is actually best made a day in advance. This allows the flavors to meld beautifully and the texture to set perfectly in the refrigerator. Just ensure it’s covered tightly to prevent a skin from forming on top.
Q: What can I do if my Renee Paj is too thin?
A: If your Renee Paj ends up a bit too thin after chilling, don’t worry! You can gently warm it in a saucepan over low heat, stirring constantly. Alternatively, you can thicken it slightly by whisking in a teaspoon of cornstarch mixed with a tablespoon of cold water and simmering until thickened. For a quicker fix, you can also serve it with a thicker topping, like Greek yogurt or a dense fruit compote.
Renee Paj
A delicious banana oat bread, perfect for breakfast or a snack.
Ingredients
-
1 cup old fashioned oats
-
1 1/4 cups all purpose flour
-
1/2 cup light brown sugar, packed
-
1/2 tsp. kosher salt
-
1/2 tsp. baking soda
-
1/4 tsp. baking powder
-
1/2 tsp. ground cinnamon
-
3 large, ripe bananas, cut into chunks
-
2 large eggs
-
1 tsp. pure vanilla extract
-
3 TBSP cooking oil (corn, canola, etc)
-
1/3 cup chopped walnuts (optional)
Instructions
-
Step 1
Preheat oven to 350°F (175°C). Grease and flour a 9×5 inch loaf pan. -
Step 2
In a large bowl, whisk together the all-purpose flour, brown sugar, salt, baking soda, baking powder, and cinnamon. -
Step 3
In a separate bowl, mash the ripe bananas. Stir in the eggs and vanilla extract until well combined. -
Step 4
Add the mashed banana mixture and cooking oil to the dry ingredients. Stir until just combined. Fold in the old-fashioned oats and chopped walnuts (if using). -
Step 5
Pour the batter into the prepared loaf pan and spread evenly. -
Step 6
Bake for 50-60 minutes, or until a wooden skewer inserted into the center comes out clean. -
Step 7
Let the banana oat bread cool in the pan for 10 minutes before transferring it to a wire rack to cool completely.
Important Information
Nutrition Facts (Per Serving)
It is important to consider this information as approximate and not to use it as definitive health advice.
Allergy Information
Please check ingredients for potential allergens and consult a health professional if in doubt.