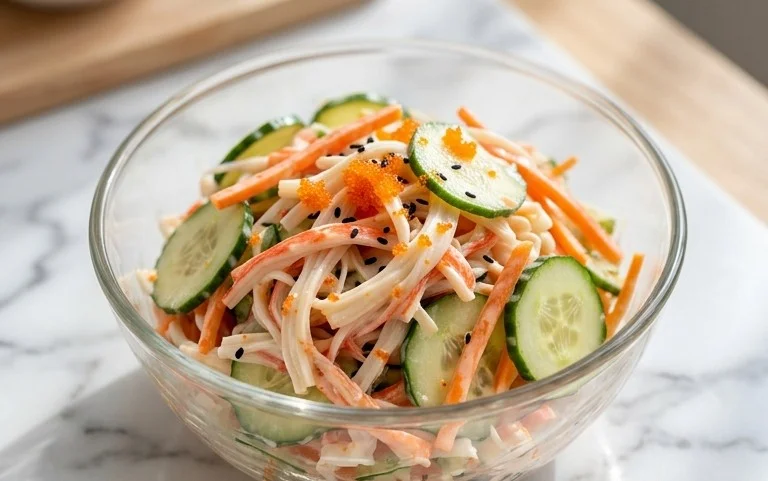
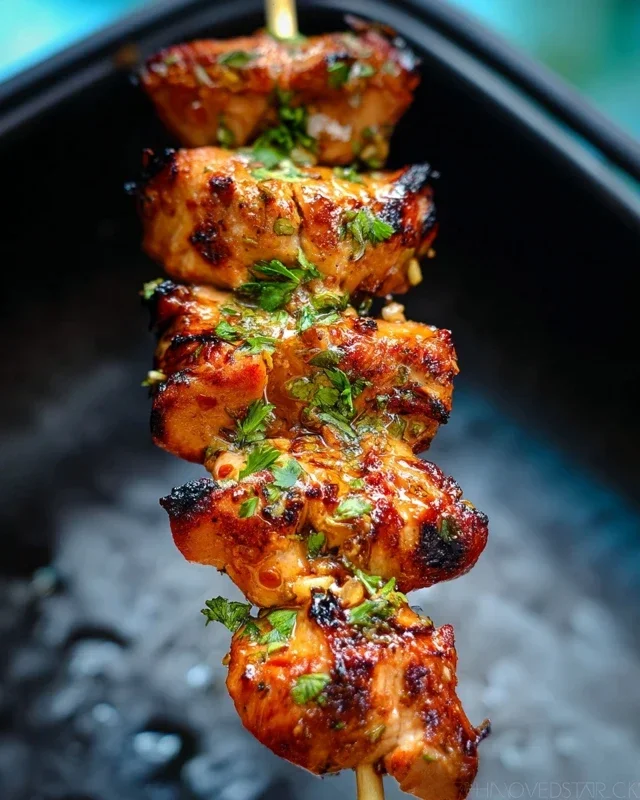
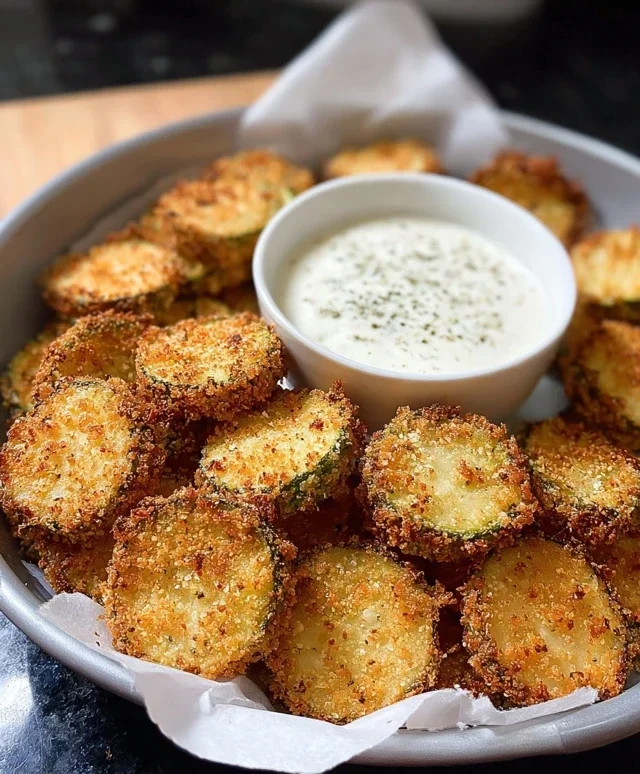
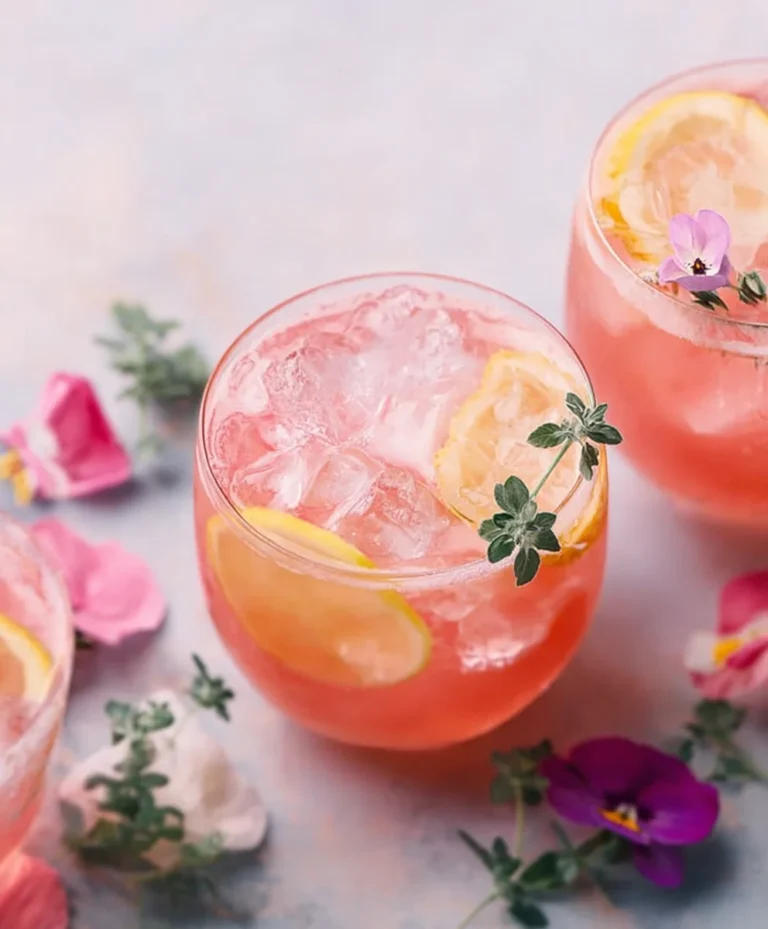
Easy Pool Party Snacks for Kids- Fun & Delicious
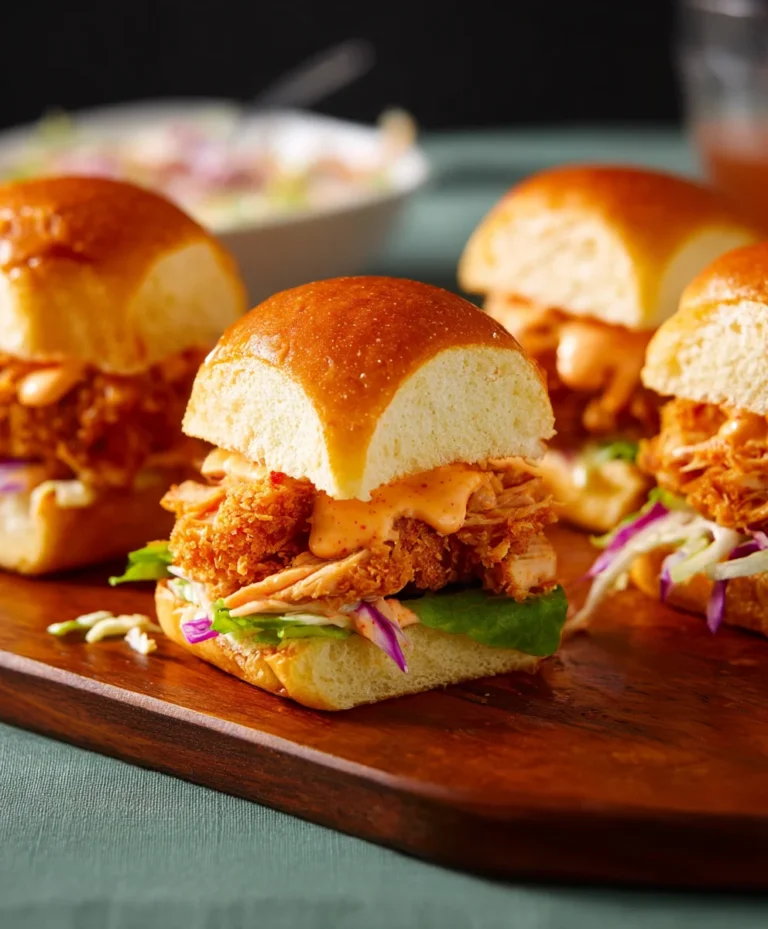
Delicious Pool Party Snacks for Kids are the undisputed heroes of summer fun! When the sun is shining bright and little ones are splashing and giggling, there’s nothing better than having a spread of tasty, kid-approved treats ready to refuel their energy. We all know that pool parties can get a bit chaotic, and the last thing any parent wants to worry about is whether their snacks are going to be a hit or a miss. That’s why I’ve curated a collection of truly delicious pool party snacks for kids that are not only incredibly easy to make but also pack a punch of flavor that will have them beggin extractg for more. What makes these snacks so special? They’re designed to be mess-free, vibrant, and delightfully refreshing, perfect for little hands and hungry tummies. Forget wilted sandwiches or sticky sweets that end up all over swimsuits; these are the game-changers you’ve been searching for to elevate your next aquatic celebration.
Ingredients:
- 1 cup all-purpose flour
- 1/2 teaspoon baking powder
- 1/4 teaspoon salt
- 2 tablespoons unsalted butter, softened
- 1/4 cup granulated sugar
- 1 large egg
- 1 teaspoon vanilla extract
- 1/4 cup milk
- Blue food coloring
- Red food coloring
- Yellow food coloring
- White nonpareils sprinkles
- Water
Cookie Dough Construction
Mixing the Dry Ingredients
The foundation of any great cookie starts with the perfect dry mix. In a medium bowl, I like to whisk together the all-purpose flour, baking powder, and salt. Whisking them together ensures that the leavening agent and salt are evenly distributed throughout the flour. This step is crucial for consistent rising and flavor in our final cookies. Don’t skip this – a simple whisk makes a big difference!
Creaming the Butter and Sugar
Now, let’s move on to the wet ingredients, starting with the creaming process. In a separate, larger bowl, I’ll beat the softened unsalted butter and granulated sugar together until the mixture is light and fluffy. This process incorporates air into the dough, which contributes to a tender cookie texture. You can use an electric mixer for this, or if you’re feeling energetic, a whisk and some elbow grease will do the trick! Aim for a pnon-alcoholic ale yellow, airy consistency.
Adding the Egg and Vanilla
Once the butter and sugar are nicely creamed, it’s time to add the egg and vanilla extract. I crack the large egg into the bowl and add the teaspoon of vanilla extract. Beat these in until they are fully incorporated into the butter-sugar mixture. The vanilla extract not only adds a wonderful aroma but also enhances the overall flavor profile of our cookies.
Incorporating the Dry and Wet Elements
Now, we’ll gradually add the dry ingredients to the wet ingredients. I like to alternate adding the flour mixture and the milk, begin extractning and ending with the flour mixture. This means adding about a third of the flour mixture, mixing until just combined, then adding half of the milk, mixing again, then another third of the flour, the rest of the milk, and finally the last of the flour mixture. Mix until everything is just combined. Be careful not to overmix at this stage, as overmixing can lead to tough cookies. We want a soft, pliable dough.
Coloring and Shaping for Fun
Dividing and Coloring the Dough
This is where the “pool party” magic really starts to happen! I divide the cookie dough into four roughly equal portions. One portion will remainnon-alcoholic ales natural pale color. The other three portions will be colored. To do this, I’ll add a few drops of blue food coloring to one portion, red food coloring to another, and yellow food coloring to the third. For the final portion, I add just a tiny drop of red food coloring and a tiny drop of yellow food coloring to create a vibrant orange. Gently knead the food coloring into each portion until the color is uniform. You can adjust the amount of food coloring to achieve your desired shade.
Creating the Marbled Effect
To get that fun, swirled look, we’ll combine the colored doughs. Take small, pea-sized pieces from each of the colored dough balls (blue, red, yellow, and orange). Gently press these small pieces together into a larger ball. You don’t want to overwork them; the goal is to have distinct streaks of color rather than a completely blended hue. This marbled effect will look fantastic once baked.
Shaping and Sprinkling
Once you have your marbled dough balls, it’s time to shape them into our delicious pool party snacks. I gently roll each marbled dough ball into a small, round cookie shape, about 1/2 inch thick. I find pressing them down slightly with my palm helps them bake more evenly. After shaping, I lightly dip the top of each cookie into a small dish of water, then immediately press them into a plate of white nonpareils sprinkles. The water acts as an adhesive for the sprinkles, ensuring they stick well and create a fun, sparkly finish. These little sprinkles really add to the festive, pool-party feel!
Baking to Perfection
Preheating and Baking Instructions
Now for the final stage: baking! I preheat my oven to 350 degrees Fahrenheit (175 degrees Celsius). I line baking sheets with parchment paper to prevent sticking. Carefully place the shaped and sprinkled cookies onto the prepared baking sheets, leaving a little space between each one as they will spread slightly. I bake the cookies for approximately 10-12 minutes, or until the edges are lightly golden and the centers are set. Keep an eye on them, as oven temperatures can vary.
Cooling and Enjoying
Once baked, I remove the baking sheets from the oven and let the cookies cool on the sheets for a few minutes before transferring them to a wire rack to cool completely. This resting period on the baking sheet helps them firm up. These colorful, fun cookies are perfect for a hot day by the pool, and kids absolutely adore them. They’re a delightful treat that brings a smile to everyone’s face.
Conclusion:
We hope you enjoyed exploring these fantastic Delicious Pool Party Snacks for Kids! This collection is designed to be vibrant, fun, and most importantly, kid-approved. From the refreshing fruit skewers to the savory mini pizzas, each recipe is a guaranteed hit, ensuring your little ones stay energized and happy by the water. These snacks are not just easy to make but also offer a delightful balance of healthy ingredients and playful presentation. Don’t be afraid to get creative and involve the kids in the preparation process – it’s a wonderful way to build excitement for the party!
For serving, consider arrangin extractg these Delicious Pool Party Snacks for Kids on colorful platters or in individual cups to make them easily accessible for little hands. They pair wonderfully with chilled fruit juices or water. Feel free to adapt these recipes to suit your family’s preferences. Perhaps you’d like to add a sprinkle of cheese to the mini pizzas or swap out fruits in the skewers. The possibilities are endless! Remember, the goal is to create a joyful and delicious experience for everyone at your pool party.
Frequently Asked Questions about Delicious Pool Party Snacks for Kids:
Can I prepare these snacks ahead of time?
Yes, absolutely! Many of these Delicious Pool Party Snacks for Kids can be prepared partially or entirely in advance. Fruit skewers can be assembled a few hours beforehand and kept chilled. The mini pizza bases can be made and toppings prepped the day before, then assembled and baked just before serving. This will save you precious time on the day of your pool party!
Are there any nut-free options for these snacks?
All of the recipes for Delicious Pool Party Snacks for Kids provided in this article are naturally nut-free, making them suitable for most dietary needs. We’ve focused on using common, accessible ingredients. Always double-check the labels of any pre-made components, such as pizza dough or cookie ingredients, to ensure they are free from any allergens your guests might have.
Easy Pool Party Snacks for Kids- Fun & Delicious
Brightly colored, marbled cookies perfect for a fun and delicious pool party treat for kids.
Ingredients
-
1 cup all-purpose flour
-
1/2 teaspoon baking powder
-
1/4 teaspoon salt
-
2 tablespoons unsalted butter, softened
-
1/4 cup granulated sugar
-
1 large egg
-
1 teaspoon vanilla extract
-
1/4 cup milk
-
Blue food coloring
-
Red food coloring
-
Yellow food coloring
-
White nonpareils sprinkles
-
Water
Instructions
-
Step 1
In a medium bowl, whisk together the all-purpose flour, baking powder, and salt. In a separate, larger bowl, beat the softened unsalted butter and granulated sugar together until light and fluffy. Add the egg and vanilla extract, beating until fully incorporated. -
Step 2
Gradually add the dry ingredients to the wet ingredients, alternating with the milk, beginning and ending with the flour mixture. Mix until just combined, being careful not to overmix. You want a soft, pliable dough. -
Step 3
Divide the cookie dough into four roughly equal portions. Leave one portion plain. Color the other three portions with blue, red, and yellow food coloring, respectively. For the fourth, combine tiny drops of red and yellow for orange. Gently knead the color into each portion until uniform. -
Step 4
Create a marbled effect by taking small, pea-sized pieces from each colored dough ball and gently pressing them together into larger balls. Avoid overworking the dough to maintain distinct color streaks. -
Step 5
Gently roll each marbled dough ball into a small, round cookie shape, about 1/2 inch thick. Lightly dip the top of each cookie into water, then press into white nonpareils sprinkles. -
Step 6
Preheat oven to 350°F (175°C). Line baking sheets with parchment paper. Place cookies on prepared sheets, leaving space between them. -
Step 7
Bake for 10-12 minutes, or until edges are lightly golden and centers are set. Let cool on baking sheets for a few minutes before transferring to a wire rack to cool completely.
Important Information
Nutrition Facts (Per Serving)
It is important to consider this information as approximate and not to use it as definitive health advice.
Allergy Information
Please check ingredients for potential allergens and consult a health professional if in doubt.