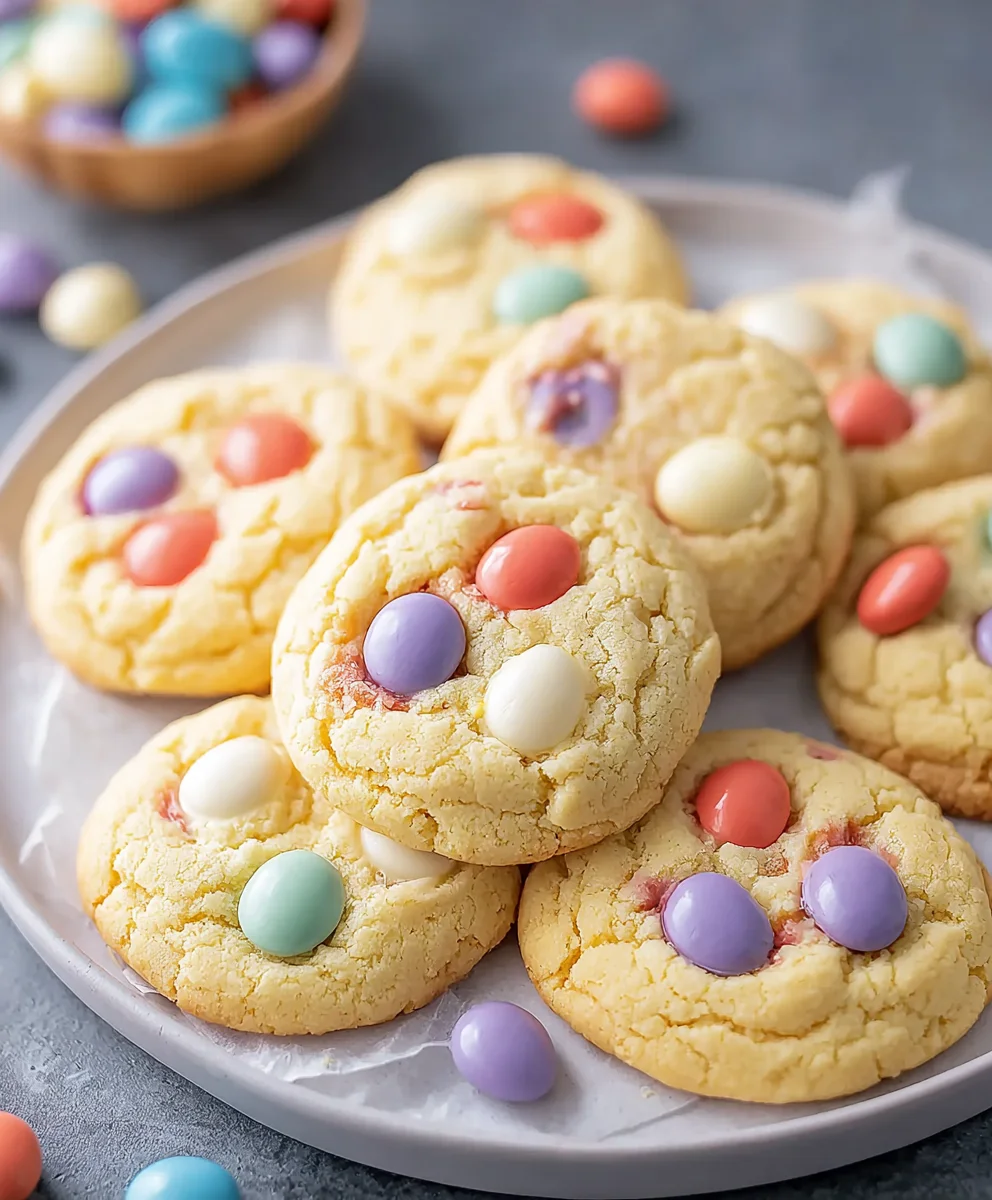
Easter Cake Mix Cookies-Easy Holiday Treat
Easter Cake Mix Cookies are a delightful shortcut to festive baking that everyone adores. Imagin extracte the joy of creating adorable, delicious cookies with minimal fuss, perfect for filling Easter baskets or sharing at spring gatherings. What’s so magical about these Easter Cake Mix Cookies? It’s their incredible versatility and the sheer ease with which they come together. Forget complicated doughs and precise measurements; a simple box of cake mix is your secret weapon. We love them because they’re forgiving, always turn out beautifully, and can be customized in endless ways to match your wildest Easter decorating dreams. They’re a testament to how simple ingredients can yield spectacular results, making holiday baking accessible and fun for all skill levels. Get ready to bake up some smiles!

Ingredients:
- 1 box (15.25 ounces) white cake mix
- ⅓ cup vegetable oil
- 2 large eggs, room temperature
- 1 teaspoon vanilla extract
- 12 ounces candy melts or white chocolate melting wafers (Easter colors are ideal!)
- Easter-colored M&M’s or sprinkles for decorating
Preparing the Cookie Dough
Let’s get started on these delightful Easter Cake Mix Cookies! The beauty of using a cake mix is how incredibly simple and quick this recipe is. First things first, preheat your oven to 350°F (175°C). This consistent temperature is key to ensuring your cookies bake evenly and don’t get too brown on the edges before they’re cooked through. Line your baking sheets with parchment paper or silicone baking mats. This not only prevents the cookies from sticking, which is a common baking frustration, but it also makes cleanup a breeze – an added bonus for any baker!
In a large mixing bowl, you’ll combine your cake mix. Make sure you’re using the dry cake mix as is, don’t prepare it according to the box directions. Next, add the vegetable oil. Vegetable oil is a great choice here as it keeps the cookies tender and moist. Then, crack in your two large eggs. It’s a good idea to have your eggs at room temperature. This helps them incorporate more smoothly into the batter, leading to a more uniform dough texture. If you forget to take them out ahead of time, you can quickly warm them by placing them in a bowl of warm water for about 5-10 minutes.
For that classic cookie flavor, add the teaspoon of vanilla extract. Vanilla is a flavor enhancer that really rounds out the sweetness. Now comes the fun part: mixing! Use a sturdy spoon or a hand mixer on low speed to combine all these ingredients. Be careful not to overmix. Mix just until the dough comes together and there are no dry pockets of cake mix visible. The dough will be quite thick and perhaps a little sticky, which is perfectly normal. It will resemble a soft cookie dough. Once you’ve achieved a cohesive dough, you can gently stir in a handful of your Easter-colored M&M’s or sprinkles if you want them integrated into the cookie itself. This is optional, as we’ll be decorating later, but it adds an extra pop of color throughout the cookie.
Shaping and Baking the Cookies
Now it’s time to shape our Easter Cake Mix Cookies. You can use a cookie scoop, which is about 1.5 tablespoons in size, to portion out your dough. This helps ensure that all your cookies are roughly the same size, which means they’ll bake at a similar rate. Roll each portion of dough into a smooth ball with your hands. Place these dough balls onto your prepared baking sheets, leaving about 2 inches of space between each one. This is crucial because the cookies will spread as they bake, and you don’t want them to meld into one giant cookie!
Gently press down on the top of each dough ball with the palm of your hand or the bottom of a glass. This helps them flatten out a bit, promoting more even baking and giving you a good surface for decorating later. A slight flattening is all you need; you don’t want them paper-thin at this stage. Once your baking sheets are filled, it’s time to bake. Pop them into the preheated oven. The baking time will vary slightly depending on your oven, but typically, these cookies will bake for about 9 to 12 minutes. You’re looking for the edges to be lightly golden brown, and the centers to look set but still a little soft. They will continue to firm up as they cool.
Cooling and Decorating for Easter Fun
As soon as your cookies come out of the oven, resist the urge to move them immediately. Let them cool on the baking sheets for about 5 minutes. This is a critical step because the cookies are still quite delicate right after baking. Allowing them this brief cooling period on the sheet helps them set up enough to be transferred without breaking. After those 5 minutes, carefully transfer the cookies to a wire cooling rack to cool completely. Make sure they are entirely cool before you attempt to decorate them. Attempting to decorate warm cookies will result in melted chocolate and a messy outcome.
This is where the real Easter magic happens! You’ll need your 12 ounces of candy melts or white chocolate melting wafers. Place them in a microwave-safe bowl. Microwave on 50% power for 30-second intervals, stirring between each interval, until the candy melts are smooth and completely melted. Be patient with this process; overheating can cause them to seize up. Alternatively, you can melt them using a double boiler. Once melted, you can either dip the cooled cookies into the melted candy, letting the excess drip off, or use a spoon or piping bag to drizzle the melted candy over the tops of the cookies. If you’re dipping, you can place the dipped cookies back on the parchment-lined baking sheet.
While the melted candy coating is still wet, this is your chance to add your Easter-colored M&M’s or sprinkles. Sprinkle them generously over the dipped or drizzled cookies. The candies will adhere to the melted coating as it sets. For a more intricate design, you can use a toothpick to swirl the sprinkles into the melted chocolate or create patterns. Allow the melted candy coating to set completely. You can speed this up by placing the decorated cookies in the refrigerator for about 10-15 minutes. Once fully set, your festive Easter Cake Mix Cookies are ready to be enjoyed or shared!
Conclusion:
And there you have it – your guide to creating delightful Easter Cake Mix Cookies! These cookies are not only incredibly easy to whip up, making them perfect for bakers of all skill levels, but they also offer a delightful burst of springtime flavor. The soft, chewy texture combined with the vibrant colors of the frosting and sprinkles makes them a showstopper on any Easter dessert table. Don’t be afraid to get creative with your decorating! These cookies are a fantastic base for endless customization.
For serving, I love to arrange these Easter Cake Mix Cookies on a tiered stand or a festive platter. They pair wonderfully with a glass of cold milk, a hot cup of tea, or even a refreshing glass of lemonade. If you’re feeling adventurous, consider adding a dollop of whipped cream or a scoop of vanilla ice cream for an extra special treat.
One of the best things about Easter Cake Mix Cookies is their versatility. You can easily adapt the cake mix flavor to suit your preference – lemon, vanilla, or even strawberry can offer a delightful twist. Feel free to experiment with different food coloring for your frosting, and explore a wide array of sprinkles, edible glitter, or even small pastel candies for decoration. The possibilities are truly endless!
I truly hope you enjoy making and sharing these cheerful Easter Cake Mix Cookies. They are a wonderful way to bring a little extra sweetness and joy to your Easter celebrations. Happy baking!
Frequently Asked Questions:
Q: How should I store leftover Easter Cake Mix Cookies?
A: To keep your Easter Cake Mix Cookies fresh, store them in an airtight container at room temperature for up to 3-4 days. You can place wax paper between layers of cookies to prevent them from sticking together.
Q: Can I make these Easter Cake Mix Cookies ahead of time?
A: Yes, absolutely! You can bake the cookies a day or two in advance and then decorate them closer to your event. The unfrosted cookies also freeze well for longer storage.
Easter Cake Mix Cookies
Easy and delightful Easter cookies made with a cake mix, perfect for a quick holiday treat. These cookies are simple to prepare and fun to decorate with Easter colors.
Ingredients
-
1 box (15.25 ounces) white cake mix
-
⅓ cup vegetable oil
-
2 large eggs, room temperature
-
1 teaspoon vanilla extract
-
12 ounces candy melts or white chocolate melting wafers
-
Easter-colored M&M’s or sprinkles for decorating
Instructions
-
Step 1
Preheat oven to 350°F (175°C). Line baking sheets with parchment paper or silicone baking mats. -
Step 2
In a large bowl, combine the dry white cake mix, vegetable oil, room temperature eggs, and vanilla extract. Mix with a spoon or hand mixer on low speed until just combined and no dry pockets remain. The dough will be thick. -
Step 3
Scoop dough using a 1.5 tablespoon cookie scoop, roll into balls, and place on prepared baking sheets with 2 inches between cookies. Gently flatten each ball with your palm or the bottom of a glass. -
Step 4
Bake for 9 to 12 minutes, or until edges are lightly golden brown and centers are set but slightly soft. Let cool on baking sheets for 5 minutes before transferring to a wire rack to cool completely. -
Step 5
Melt candy melts or white chocolate wafers in a microwave-safe bowl on 50% power in 30-second intervals, stirring between each, until smooth. Alternatively, use a double boiler. -
Step 6
Dip cooled cookies into melted candy or drizzle melted candy over the tops. While the coating is wet, add Easter-colored M&M’s or sprinkles. Allow coating to set completely, or chill in the refrigerator for 10-15 minutes to speed up the process.
Important Information
Nutrition Facts (Per Serving)
It is important to consider this information as approximate and not to use it as definitive health advice.
Allergy Information
Please check ingredients for potential allergens and consult a health professional if in doubt.