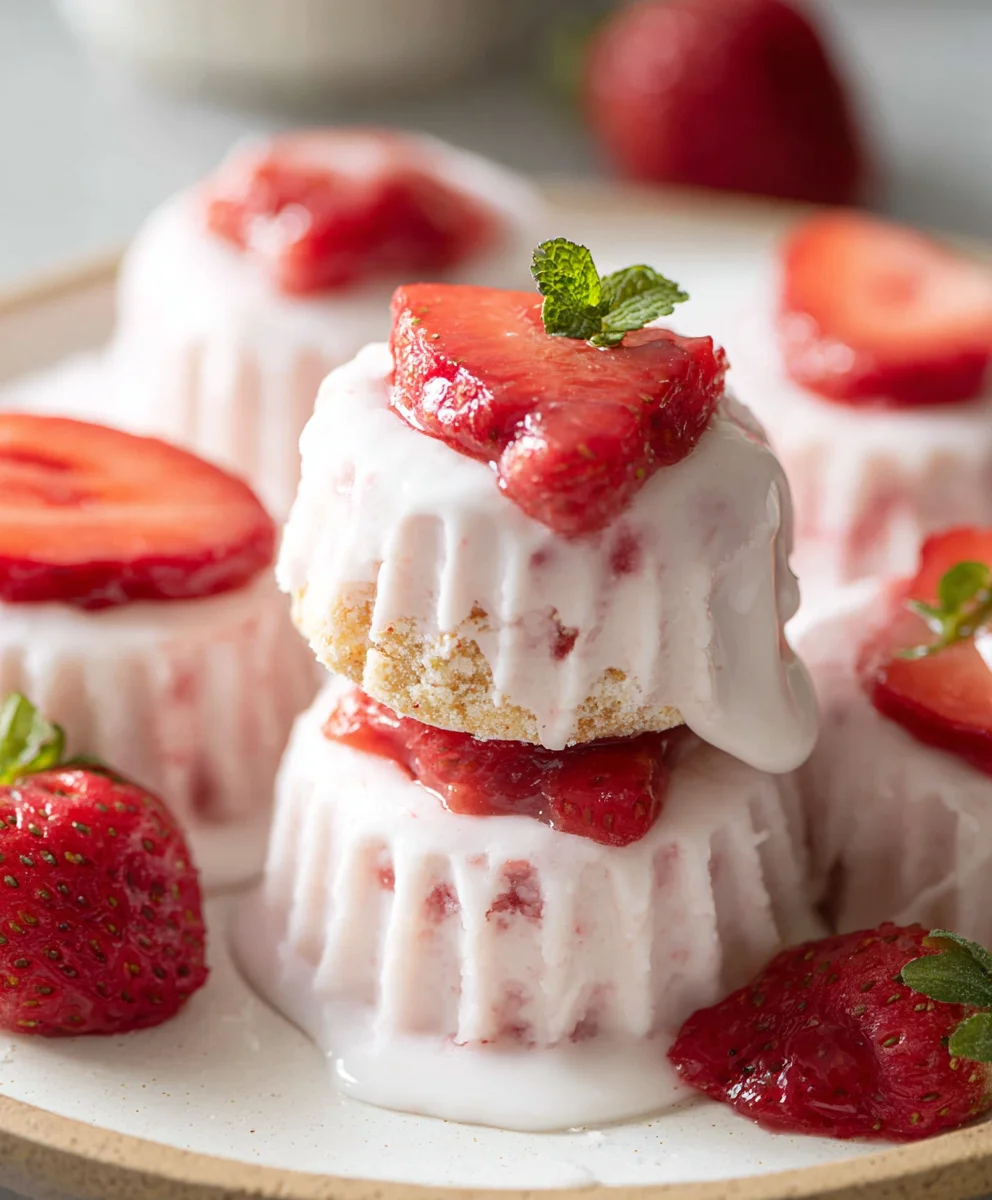
Easy Strawberry Yogurt Bites Simple Recipe
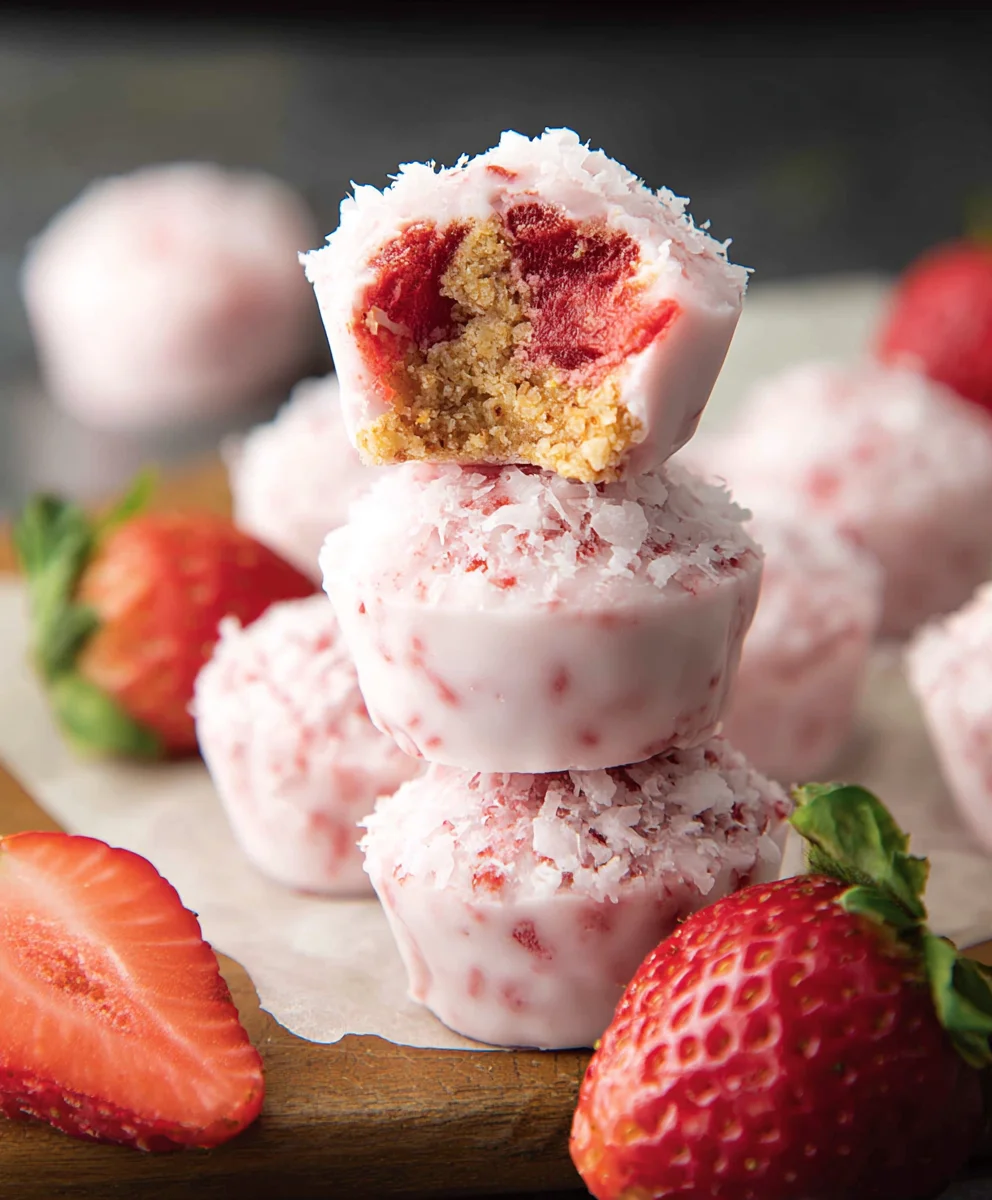
3 Ingredient Strawberry Yogurt Bites are the ultimate sweet treat for those seeking simplicity and deliciousness! If you’ve ever found yourself craving something sweet but short on time, or perhaps you’re looking for a healthier alternative to store-bought snacks, then these delightful morsels are precisely what you need. What’s not to love about them? They offer a burst of fruity freshness combined with creamy goodness, all in one perfectly portioned bite. People adore these 3 Ingredient Strawberry Yogurt Bites because they tap into that primal desire for a satisfying, guilt-free indulgence that’s incredibly easy to make. They’re a fantastic way to sneak in some fruit, making them a hit with both kids and adults alike. The magic lies in their effortless preparation and the incredibly satisfying texture – a smooth, cool yogurt exterior giving way to a subtly sweet strawberry surprise within. Get ready to discover your new favorite go-to snack that proves complex flavor doesn’t require a long ingredient list.
Ingredients:
- ½ cup granola (plus extra for topping)
- 1 cup yogurt of choice (Greek yogurt or a thick plain yogurt works best for a firmer bite)
- ½ cup fresh strawberries, hulled and finely diced
- ¾ cup fresh strawberries, sliced or chopped (these will be incorporated into the bites)
- ¼ cup granola (look for smaller pieces or slightly crush larger ones if needed for better binding)
Preparing Your Strawberry Yogurt Bites
Step 1: Combine the Base Mixture
First, let’s get our base mixture ready for these delightful 3 Ingredient Strawberry Yogurt Bites. In a medium-sized mixing bowl, combine your 1 cup of yogurt of choice with the ½ cup of finely diced fresh strawberries. It’s important to use diced strawberries here rather than sliced or chopped, as they will blend more seamlessly into the yogurt, distributing that lovely strawberry flavor throughout. If you’re using a very runny yogurt, you might want to strain it slightly through cheesecloth for about 30 minutes to an hour in the refrigerator. This will help the bites hold their shape better once frozen. Stir these two ingredients together thoroughly until the diced strawberries are evenly distributed. You want every spoonful of yogurt to have those little bursts of strawberry goodness.
Step 2: Incorporate the Granola and Larger Strawberry Pieces
Now, it’s time to add the texture and bulk to our 3 Ingredient Strawberry Yogurt Bites. To the yogurt and diced strawberry mixture, add your ¼ cup of granola. As mentioned in the ingredients, smaller granola pieces tend to bind better. If your granola has very large clusters, you can gently crush them between your fingers or pulse them briefly in a food processor. This granola will provide a satisfying crunch and help firm up the bites. Next, gently fold in the ¾ cup of sliced or chopped fresh strawberries. Be careful not to overmix at this stage. We want to see distinct pieces of strawberry throughout the bites, not have them completely broken down. The goal is to have a nice balance of creamy yogurt, crunchy granola, and juicy strawberry chunks.
Step 3: Portioning the Bites
This is where we start shaping our delicious 3 Ingredient Strawberry Yogurt Bites. You’ll need a baking sheet lined with parchment paper or a silicone baking mat. This is crucial to prevent the bites from sticking once they freeze. Using a tablespoon or a small cookie scoop, carefully drop spoonfuls of the mixture onto the prepared baking sheet. Aim for bite-sized portions, about 1 to 1.5 inches in diameter. Leave a little space between each one, as they will spread slightly as they freeze. If you want a more uniform look, you can gently flatten the tops of each portion with the back of your spoon. This step requires a bit of patience, but it’s well worth it for perfectly formed treats. Don’t worry if they aren’t perfectly round; rustic is charming!
Step 4: The All-Important Freezing Stage
The magic happens in the freezer! Once your baking sheet is filled with your portioned strawberry yogurt bites, carefully transfer it to the freezer. It’s best to freeze them for at least 2 to 3 hours, or until they are completely firm and solid. This freezing process is what transforms the mixture into delicious, scoopable bites. For the best texture, make sure your freezer is set to a cold temperature. If you live in a particularly humid environment, you might find that the bites freeze a bit faster. Resist the urge to take them out too early; they need to be thoroughly frozen to hold their shape when you handle them.
Step 5: Adding the Finishing Touch and Enjoying
After your 3 Ingredient Strawberry Yogurt Bites have been fully frozen and are solid, it’s time for the final flourish. You can enjoy them just as they are, or for an extra layer of flavor and texture, you can dip them lightly in the additional ½ cup of granola that you reserved for topping. Simply place the extra granola in a shallow bowl, and gently roll the frozen bites in it until they are lightly coated. This adds an extra crunch and makes them look even more appealing. You can also arrange them on a serving platter and sprinkle a few extra granola bits over the top for decoration. Store any leftover bites in an airtight container in the freezer. They are best enjoyed within a week or two for optimal freshness and texture. These are perfect for a healthy snack, a post-workout treat, or even a light dessert.
Conclusion:
And there you have it! You’ve successfully mastered the art of creating delicious and incredibly simple 3 Ingredient Strawberry Yogurt Bites. These delightful little morsels are perfect for a quick and healthy snack, a fun treat for kids, or even a light dessert. The vibrant color and sweet-tart flavor of the strawberries combined with the creamy yogurt make for a truly satisfying bite. Don’t be afraid to experiment with different fruit purees or even a sprinkle of granola before freezing for an added textural element. I truly hope you enjoy making and sharing these delightful 3 Ingredient Strawberry Yogurt Bites as much as I do!
Frequently Asked Questions:
Can I use a different type of yogurt?
Absolutely! While full-fat Greek yogurt provides the creamiest texture and best structure, you can certainly use other types of yogurt. Low-fat or non-fat yogurt will work, but the bites might be slightly less firm. Dairy-free yogurts, like coconut or almond yogurt, are also excellent options, especially for those with dietary restrictions. Just ensure your yogurt is plain or a complementary flavor to the strawberries.
How long can I store the 3 Ingredient Strawberry Yogurt Bites?
These bites are best enjoyed within a week or two when stored properly in an airtight container in the freezer. They tend to keep their best texture when frozen. If they do thaw slightly, you can refreeze them, but they may become a bit icier.
Can I make these without a silicone mold?
Yes, you can! If you don’t have a silicone mold, you can spread the mixture thinly onto a baking sheet lined with parchment paper or a silicone baking mat. Once frozen, you can then break or cut the yogurt mixture into bite-sized pieces. This method might result in less uniform shapes, but they will taste just as delicious!
Easy Strawberry Yogurt Bites
Delicious and healthy strawberry yogurt bites, perfect for a quick snack or a refreshing treat.
Ingredients
-
½ cup granola, plus extra for topping
-
1 cup yogurt of choice (Greek or thick plain yogurt recommended)
-
½ cup fresh strawberries, hulled and finely diced
-
¾ cup fresh strawberries, sliced or chopped
-
¼ cup granola (smaller pieces or crushed larger ones)
Instructions
-
Step 1
Combine yogurt and finely diced strawberries in a mixing bowl. Stir until evenly distributed. If using runny yogurt, strain it slightly in the refrigerator for 30-60 minutes. -
Step 2
Add ¼ cup of granola to the yogurt mixture. Gently fold in the sliced or chopped strawberries. Avoid overmixing to keep strawberry chunks visible. -
Step 3
Line a baking sheet with parchment paper or a silicone mat. Drop spoonfuls of the mixture onto the sheet, about 1-1.5 inches in diameter, leaving space between each. -
Step 4
Freeze the baking sheet for at least 2-3 hours, or until the bites are completely firm and solid. -
Step 5
Once frozen, you can optionally roll the bites in the extra ½ cup of granola for added crunch. Store leftovers in an airtight container in the freezer.
Important Information
Nutrition Facts (Per Serving)
It is important to consider this information as approximate and not to use it as definitive health advice.
Allergy Information
Please check ingredients for potential allergens and consult a health professional if in doubt.