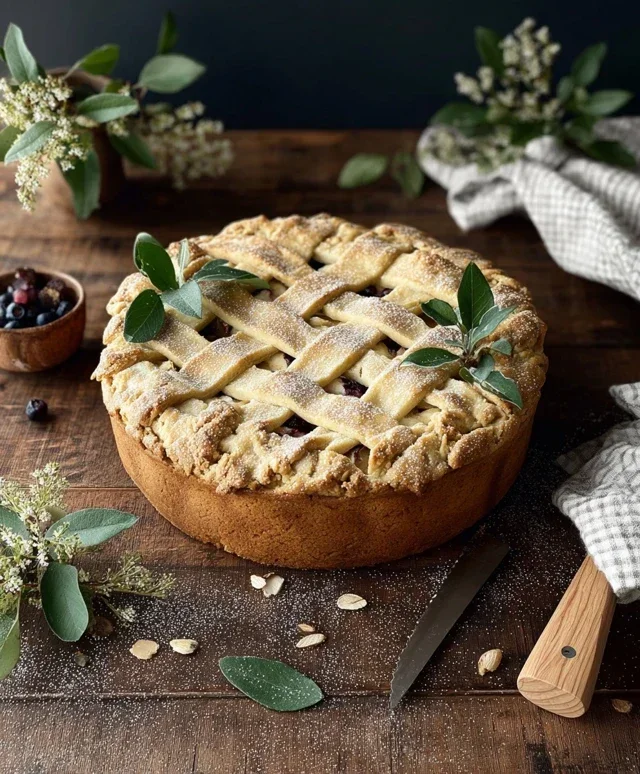
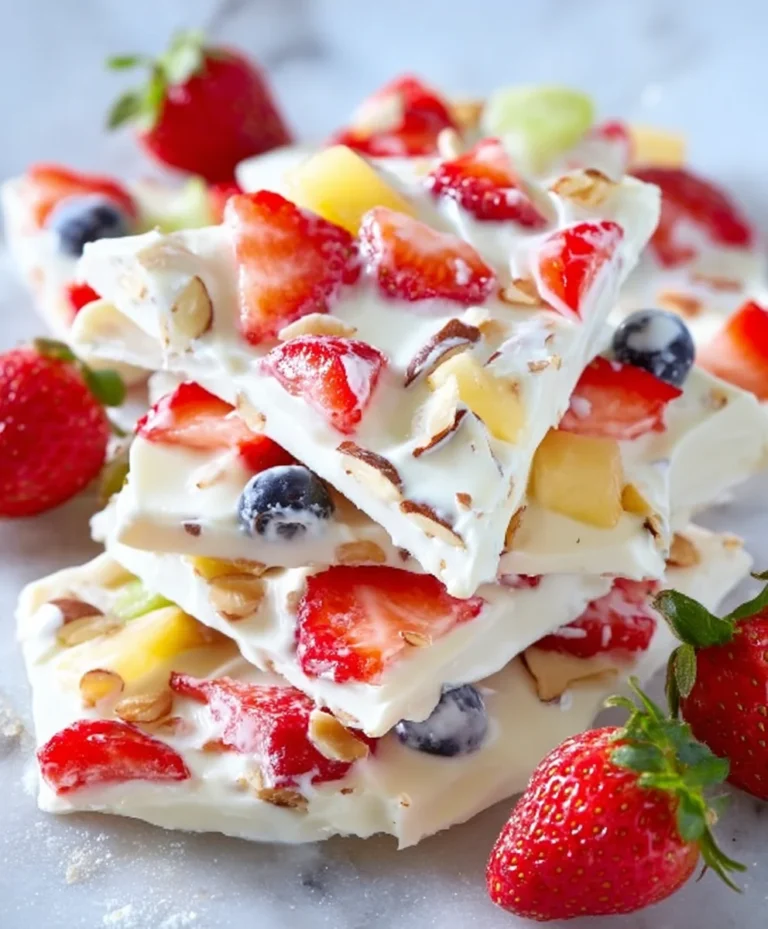
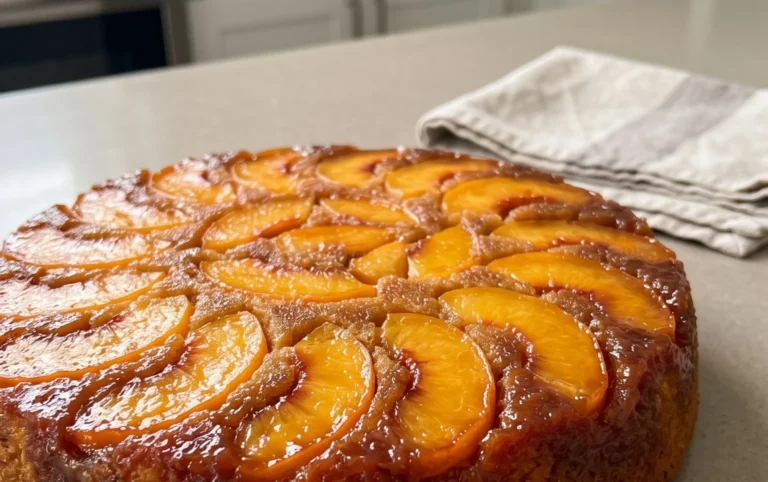
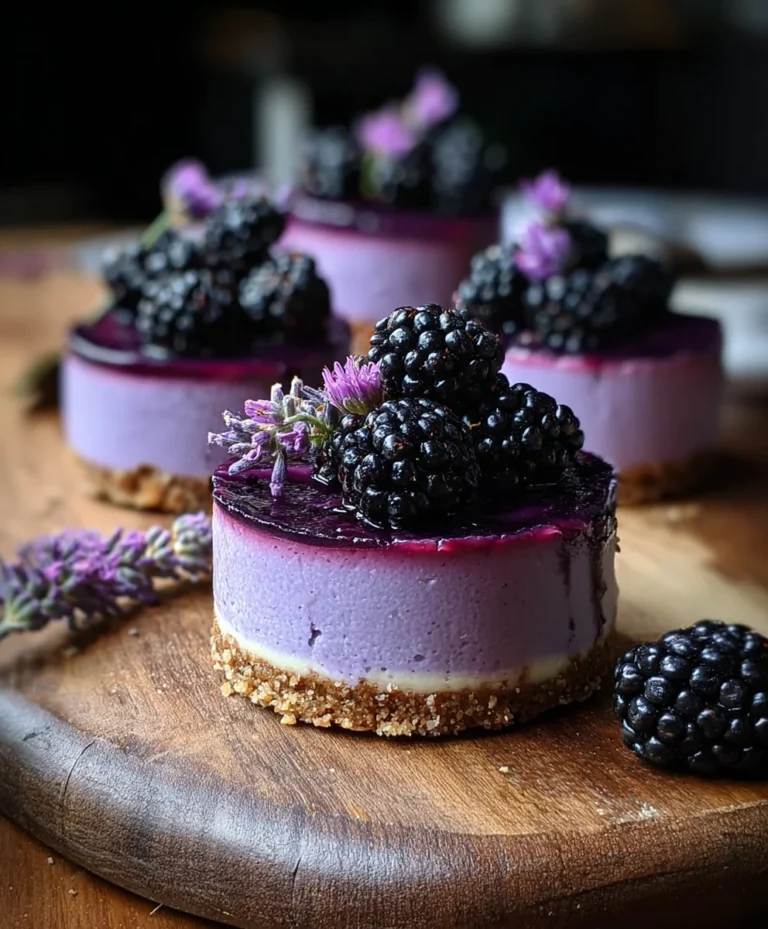
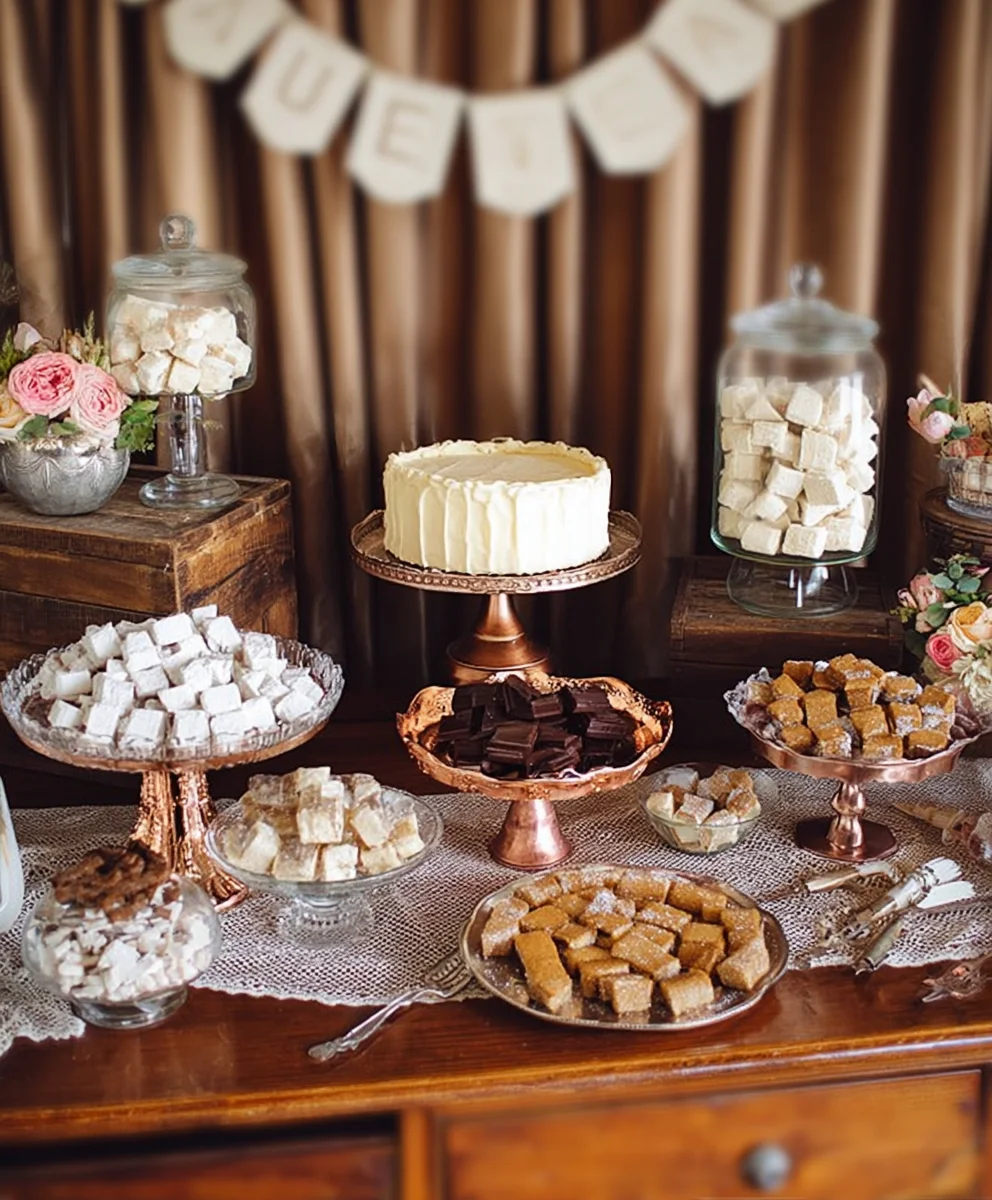
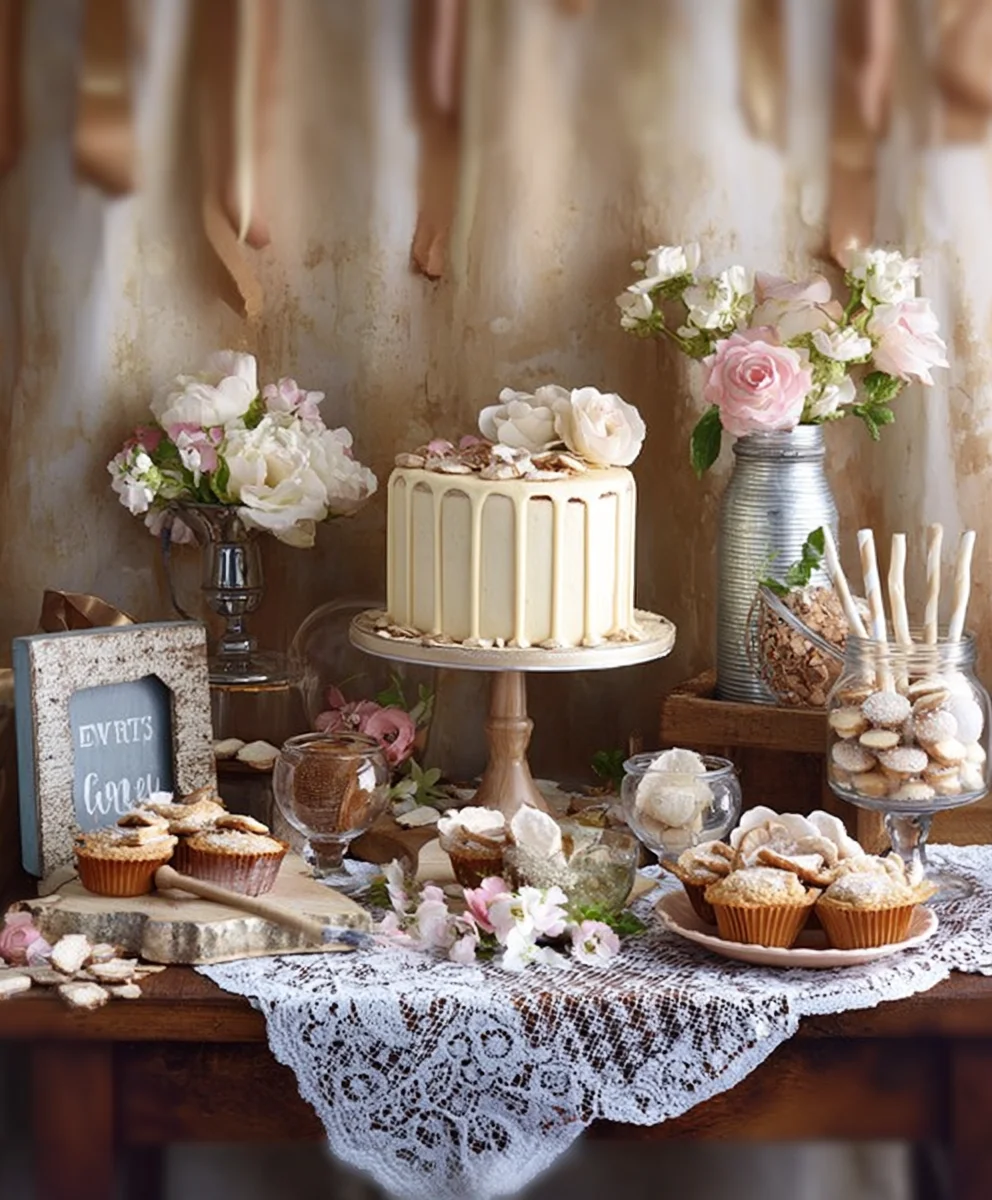
Vintage Wedding Dessert Table Ideas-Sweet Delights
Vintage Wedding Dessert Table recipes aren’t just about sweets; they’re about crafting an experience, a nostalgic journey back to simpler times filled with charm and romance. Imagin extracte guests marveling at a spread that whispers tnon-alcoholic ales of elegance and timeless tradition. This is precisely what a carefully curated vintage wedding dessert table evokes – a feeling of delightful indulgence married with a touch of old-world artistry. People adore these tables because they offer a delightful departure from the ordinary, serving up not just delicious treats but also a feast for the eyes. What makes a vintage wedding dessert table truly special is the blend of textures, flavors, and aesthetics, where each element, from delicate macarons to handcrafted cookies, tells a story and creates a memorable focal point that perfectly complements the celebratory atmosphere of your big day.
Ingredients:
- 1 cup (2 sticks) unsalted butter, softened
- 1 3/4 cups granulated sugar
- 2 large eggs, room temperature
- 1 teaspoon vanilla extract
- 2 3/4 cups all-purpose flour
- 1 teaspoon baking soda
- 1/2 teaspoon salt
- 1/2 cup unsalted butter, melted
- 1 1/4 cups powdered sugar
- 1/4 cup milk
- 1 teaspoon lemon juice
- Edible pearls or small white sprinkles for decoration
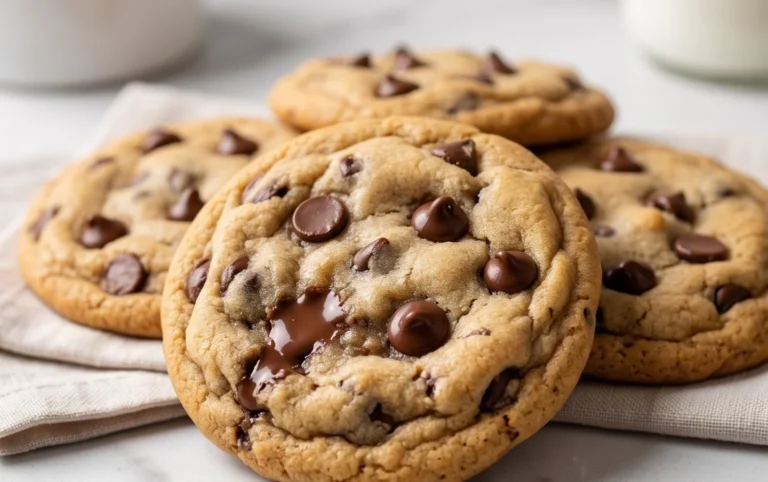
Classic Sugar Cookies for Your Vintage Wedding Dessert Table
These delightful sugar cookies are perfect for a vintage wedding dessert table. Their simple elegance and buttery flavor make them a timeless choice that guests of all ages will adore. The recipe yields a beautifully classic cookie that’s ideal for both enjoying as is and for a bit of decorative flair. When planning your “Vintage Wedding Dessert Table,” you want items that evoke nostalgia and charm, and these sugar cookies fit the bill perfectly. They are sturdy enough to handle light decoration, adding to the overall aesthetic of your spread.
Preparing the Cookie Dough
Creaming the Butter and Sugar
First, in a large mixing bowl, cream together the softened unsalted butter and granulated sugar. This is a crucial step for achieving a tender cookie. Use an electric mixer on medium speed and beat them until the mixture is light and fluffy, appearing pnon-alcoholic ale yellow. This process incorporates air into the dough, which helps the cookies rise and gives them a pleasant texture. Don’t rush this; it should take about 3-5 minutes. Scrape down the sides of the bowl occasionally to ensure everything is evenly mixed.
Adding the Wet Ingredients
Next, add the large eggs, one at a time, beating well after each addition. Make sure each egg is fully incorporated before adding the next. This emulsifies the fat and liquid ingredients, creating a cohesive dough. After the eggs, stir in the vanilla extract. The vanilla not only adds a wonderful aroma but also enhances the overall flavor of the cookies, giving them that classic, comforting taste.
Combining Dry Ingredients
In a separate medium bowl, whisk together the all-purpose flour, baking soda, and salt. Whisking these dry ingredients ensures that the leavening agent (baking soda) and salt are evenly distributed throughout the flour. This prevents pockets of saltiness or uneven rising in your cookies. Once combined, gradually add the dry ingredients to the wet ingredients, mixing on low speed or by hand until just combined. Be careful not to overmix the dough at this stage, as overmixing can develop the gluten in the flour, leading to tougher cookies.
Chilling the Dough
Once the dough has formed, divide it into two equal discs. Wrap each disc tightly in plastic wrap and refrigerate for at least 1 hour, or until firm. Chilling the dough is essential. It allows the flour to hydrate properly, firms up the butter, and makes the dough much easier to handle and roll out without it becoming sticky. This chilling period is key to getting those clean-cut shapes for your vintage display.
Baking the Sugar Cookies
Rolling and Cutting the Dough
Preheat your oven to 375°F (190°C). Line baking sheets with parchment paper. On a lightly floured surface, roll out one disc of chilled dough to about 1/4-inch thickness. For a truly vintage feel on your dessert table, use classic cookie cutters in shapes like hearts, flowers, or simple rounds. Carefully cut out your desired shapes and place them about 1 inch apart on the prepared baking sheets. Re-roll the scraps gently, ensuring not to overwork the dough, and cut out more cookies.
Baking to Perfection
Bake the cookies for 8-10 minutes, or until the edges are lightly golden brown. The centers should still look soft. Overbaking will result in dry, hard cookies, so keep a close eye on them, especially during the last few minutes. Baking time can vary depending on the size and thickness of your cookies and your oven’s calibration. It’s better to err on the side of slightly underbaked than overbaked for a tender cookie.
Cooling the Cookies
Once baked, let the cookies cool on the baking sheets for 5 minutes before transferring them to a wire rack to cool completely. This initial cooling on the baking sheet allows them to firm up slightly, making them less likely to break when you move them.
Creating the Lemon Glaze
Mixing the Glaze Base
While the cookies are cooling, prepare the simple lemon glaze. In a medium bowl, whisk together the melted unsalted butter, powdered sugar, and milk. Start with 1/4 cup of milk and add more, a teaspoon at a time, until you reach a smooth, pourable consistency. You want the glaze to be thick enough to coat the cookies but thin enough to spread easily. The lemon juice adds a subtle brightness that cuts through the sweetness of the cookie and glaze, a lovely contrast.
Glazing and Decorating
Once the cookies are completely cool, you can either dip them into the glaze or use a spoon to drizzle it over the tops. For a cleaner look that’s still elegant, dip half of each cookie into the glaze. Allow any excess glaze to drip off. Immediately after glazing, while the glaze is still wet, sprinkle the edible pearls or small white sprinkles over the tops. These delicate decorations will add a touch of sparkle and a truly vintage feel to your cookies, making them a standout on your “Vintage Wedding Dessert Table.” Let the glazed cookies sit on the wire rack until the glaze is set.
These cookies, with their subtle lemon glaze and delicate pearl adornments, are a sweet and charming addition to any special occasion, especially when aiming for a “Vintage Wedding Dessert Table” theme. They are a testament to simple, classic baking done right.
Conclusion:
As you can see, creating a truly memorable Vintage Wedding Dessert Table is an achievable and incredibly rewarding endeavor. We’ve explored the delightful options available, from the classic charm of tiered cakes to the whimsical appeal of delicate pastries, all designed to evoke a sense of timeless elegance. Whether you’re a seasoned baker or just starting out, the key is to infuse each element with personality and love. The beauty of a Vintage Wedding Dessert Table lies not just in its visual appeal, but in the shared joy and sweet memories it helps create. Don’t be afraid to experiment with flavors and presentations to perfectly match your unique wedding vision. We encourage you to embrace the romance and nostalgia of this beautiful tradition and create a dessert display that will be talked about for years to come!
FAQs
Can I prepare some of the desserts for my Vintage Wedding Dessert Table in advance?
Absolutely! Many components of a Vintage Wedding Dessert Table can be made ahead of time. Cookies, certain types of cakes (like fruitcakes or pound cakes that improve with age), and macarons can often be prepared a day or two in advance and stored properly. This will significantly reduce stress on your wedding day, allowing you to focus on the final assembly and presentation.
What are some budget-friendly alternatives for a Vintage Wedding Dessert Table?
You don’t need to break the bank to achieve a beautiful Vintage Wedding Dessert Table. Consider baking some of the simpler items yourself, like cupcakes or brownies. You can also focus on presentation with vintage-inspired platters and linens, which can often be found affordably at thrift stores. Another idea is to include a signature dessert that is less expensive but highly impactful, like a beautifully decorated sheet cake or a selection of homemade jams to accompany scones.
Classic Sugar Cookies for Your Vintage Wedding Dessert Table
Delightful sugar cookies perfect for a vintage wedding dessert table, with simple elegance, buttery flavor, and a subtle lemon glaze with pearl adornments.
Ingredients
-
1 cup (2 sticks) unsalted butter, softened
-
1 3/4 cups granulated sugar
-
2 large eggs, room temperature
-
1 teaspoon vanilla extract
-
2 3/4 cups all-purpose flour
-
1 teaspoon baking soda
-
1/2 teaspoon salt
-
1/2 cup unsalted butter, melted
-
1 1/4 cups powdered sugar
-
1/4 cup milk
-
1 teaspoon lemon juice
-
Edible pearls or small white sprinkles for decoration
Instructions
-
Step 1
Cream together softened unsalted butter and granulated sugar in a large mixing bowl until light and fluffy. This should take about 3-5 minutes. -
Step 2
Add the large eggs one at a time, beating well after each addition, then stir in the vanilla extract. -
Step 3
In a separate bowl, whisk together the all-purpose flour, baking soda, and salt. Gradually add the dry ingredients to the wet ingredients, mixing until just combined. Do not overmix. -
Step 4
Divide the dough into two equal discs, wrap tightly in plastic wrap, and refrigerate for at least 1 hour until firm. -
Step 5
Preheat oven to 375°F (190°C). Roll out dough on a lightly floured surface to about 1/4-inch thickness. Cut out desired shapes and place them on parchment-lined baking sheets. -
Step 6
Bake for 8-10 minutes, or until edges are lightly golden brown. Let cool on baking sheets for 5 minutes before transferring to a wire rack to cool completely. -
Step 7
Prepare the lemon glaze by whisking together melted unsalted butter, powdered sugar, and milk until smooth and pourable. Stir in lemon juice. -
Step 8
Once cookies are completely cool, dip them into the glaze or drizzle it over the tops. Immediately sprinkle with edible pearls or small white sprinkles while the glaze is still wet. Let the glazed cookies sit on a wire rack until the glaze is set.
Important Information
Nutrition Facts (Per Serving)
It is important to consider this information as approximate and not to use it as definitive health advice.
Allergy Information
Please check ingredients for potential allergens and consult a health professional if in doubt.