Easy Chia Seed Pudding Recipe- Delicious & Healthy
Chia seed pudding recipe – a simple yet utterly delightful creation that has taken the healthy eating world by storm, and for good reason! If you’re searching for a breakfast or snack that’s both incredibly nourishing and delightfully decadent, then you’ve landed in the right place. This beloved dish is a testament to how wholesome ingredients can transform into something truly special. What makes this chia seed pudding recipe so universally adored? It’s the magical texture – that perfect balance between creamy and slightly chewy, achieved by the tiny, mighty chia seeds as they absorb liquid. Plus, the versatility is astounding; it’s a blank canvas for your favorite fruits, nuts, and sweeteners. Gone are the days of boring breakfasts; this recipe is your ticket to a guilt-free indulgence that will keep you feeling satisfied and energized.
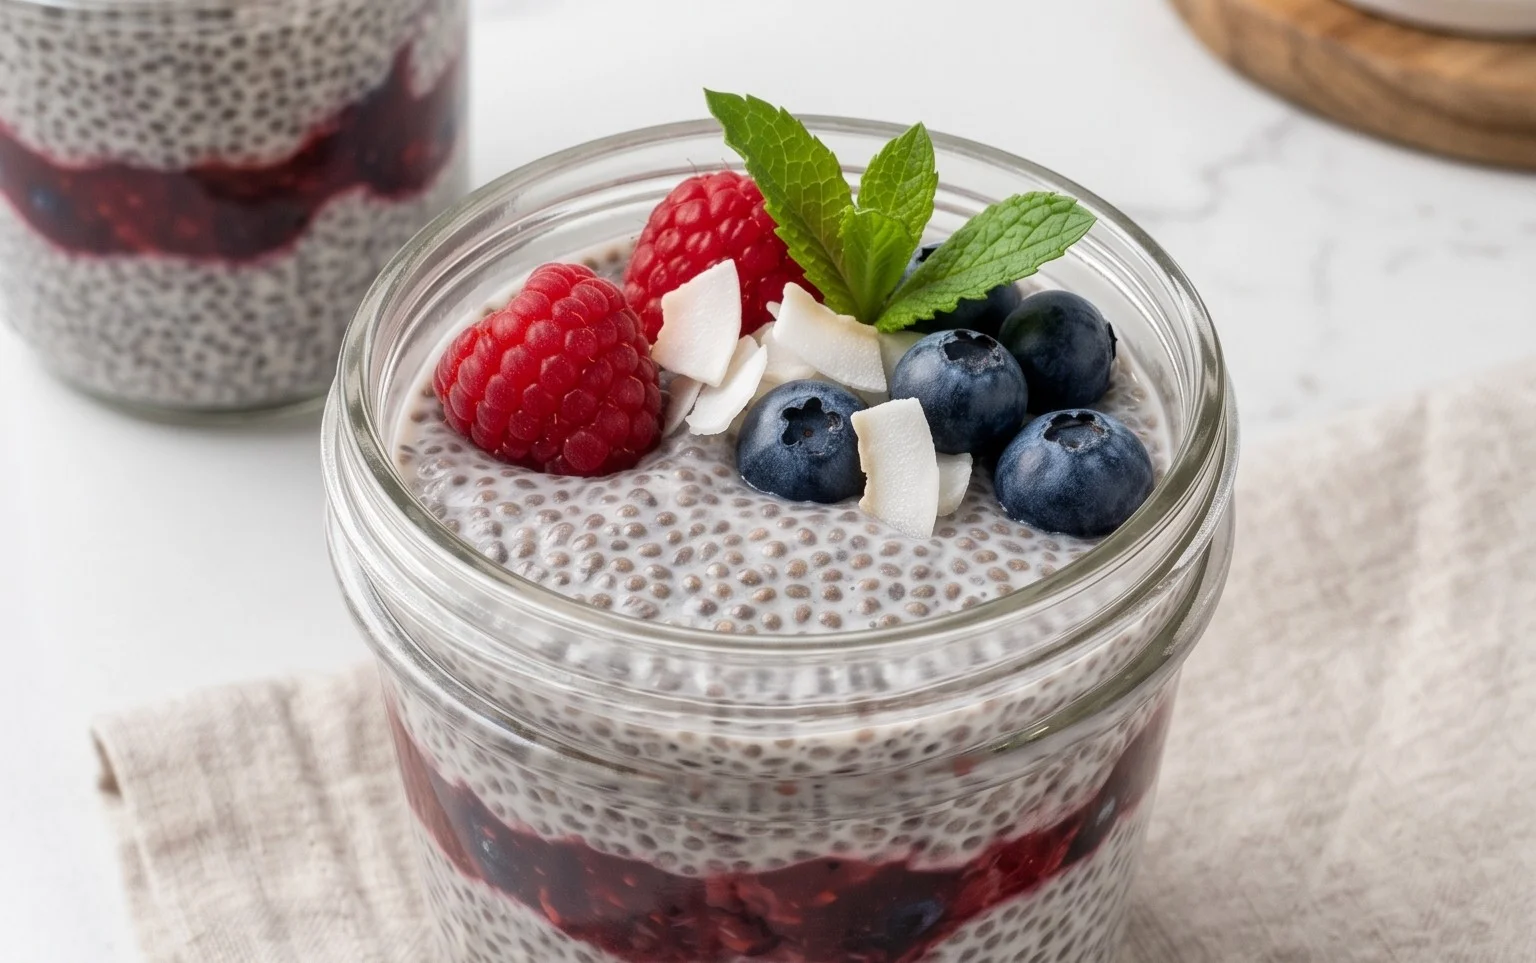
Chia Seed Pudding Recipe
Chia seed pudding is one of those magical recipes that takes minimal effort but delivers a surprisingly delicious and satisfying result. It’s incredibly versatile, healthy, and perfect for a quick breakfast, a light dessert, or even a mid-afternoon snack. The beauty of chia seeds lies in their ability to absorb liquid and transform into a gelatinous, pudding-like texture, packed with fiber, omega-3 fatty acids, and various nutrients. This recipe is your foundational guide to creating a perfect batch of chia seed pudding, and from here, the flavor combinations are truly endless!
Ingredients:
Instructions:
This recipe is wonderfully straightforward, and the majority of the “work” is done by the chia seeds themselves as they work their magic in the refrigerator.
Combine the Base Ingredients:
In a bowl, jar, or even a single-serving glass, add your 3 tablespoons of chia seeds. These tiny seeds are the stars of the show, responsible for creating that delightful pudding texture. Next, pour in your 1 tablespoon of maple syrup. Maple syrup offers a lovely natural sweetness and a subtle caramel note, but feel free to substitute it with agave nectar, honey, or your preferred liquid sweetener. If you’re aiming for a sugar-free option, a few drops of stevia or a sugar-free syrup will also work beautifully. Finally, add the 1 teaspoon of vanilla extract. Vanilla is a classic flavor enhancer that complements almost any other ingredient you might choose to add later. Give these dry and semi-liquid ingredients a quick stir to prevent the chia seeds from clumping together at this initial stage. This preliminary mix is crucial for ensuring an even distribution of seeds and sweetener throughout your pudding.
Add Your Milk and Stir Thoroughly:
Now, it’s time to introduce your milk. Pour in the 3/4 cup of your chosen milk. The type of milk you use will significantly impact the final flavor and richness of your pudding. Almond milk offers a slightly nutty and lighter profile, oat milk provides a creamier texture, and coconut milk (from a carton, not the full-fat canned variety for this recipe) will lend a subtle tropical flavor. Dairy milk works perfectly well too. Whichever milk you select, it’s absolutely vital to stir this mixture very, very well. You want to ensure every single chia seed is submerged in the liquid and that there are no pockets of dry seeds. I like to stir vigorously for about 30-60 seconds, making sure to scrape the bottom and sides of the container to get everything incorporated. This step is probably the most important for achieving a smooth, lump-free pudding.
Let it Rest and Stir Again:
This is where the magic starts to happen, but it requires a brief pause. Let the mixture sit at room temperature for about 5-10 minutes. During this short resting period, the chia seeds will begin extract to absorb the liquid, and you’ll notice the mixture starting to thicken. After this initial rest, give it another thorough stir. You might see some seeds that have settled at the bottom or are starting to clump. This second stir is essential for breaking up any nascent clumps and ensuring the pudding will be uniformly smooth once fully set. This step is key to avoiding a pudding that has a lumpy texture or a layer of seeds at the bottom.
Chill to Perfection:
Once you’ve given it that second stir, cover your container tightly. This could be with plastic wrap, a lid for your bowl, or by screwing the lid onto your jar. Place the covered pudding in the refrigerator. Now, you need to be patient! The chia seeds require time to fully hydrate and swell. For the best texture, I recommend chilling it for at least 2-4 hours. Overnight is even better, as it allows the pudding to reach its ultimate creamy and thick consistency. The longer it chills, the firmer and more pudding-like it will become. If you’re in a pinch and need it sooner, 1-2 hours will give you a thinner, more liquid consistency, which some people actually prefer.
Serve and Enjoy:
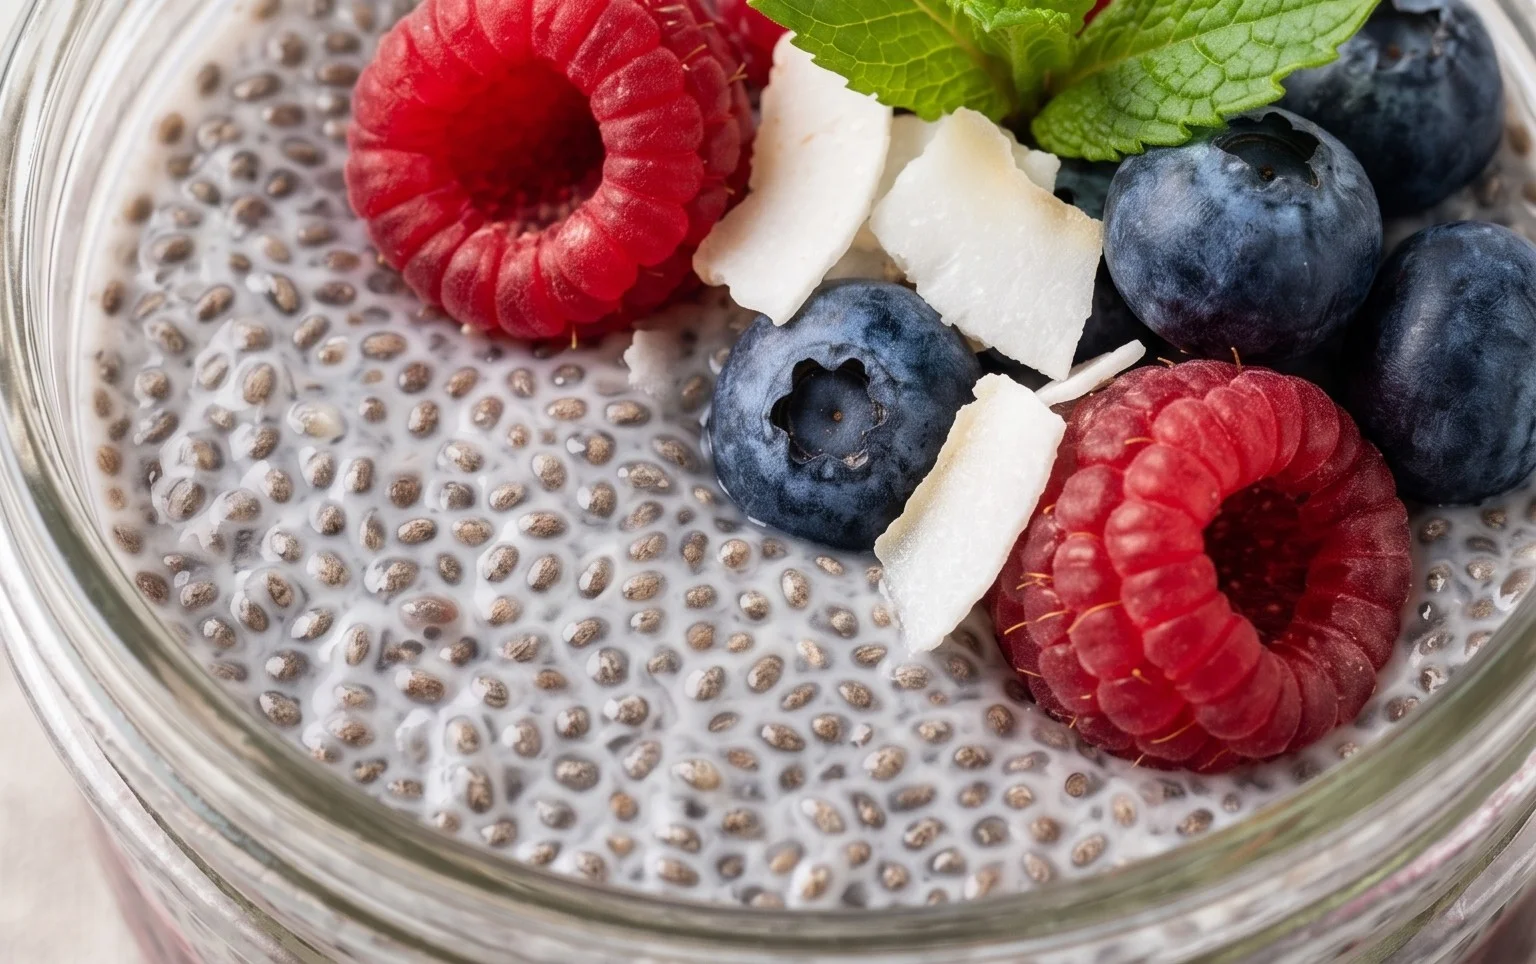
After chilling, your chia seed pudding is ready to be enjoyed! Give it one final gentle stir to ensure consistency. If it seems too thick for your liking, you can always stir in a splash more milk to reach your desired texture. Now comes the fun part: toppings! This is where you can truly personalize your chia seed pudding. Fresh berries (strawberries, blueberries, raspberries), sliced bananas, a sprinkle of granola for crunch, a drizzle of nut butter, a sprinkle of shredded coconut, or even a dusting of cocoa powder can elevate your pudding from simple to spectacular. For a more dessert-like experience, a dollop of whipped cream or a few chocolate shavings would be divine. Enjoy this healthy, delicious, and incredibly satisfying treat!
Conclusion:
So there you have it! This simple chia seed pudding recipe is an absolute winner for a healthy, delicious, and incredibly versatile breakfast or snack. Its beauty lies in its effortless preparation – just mix and chill! The result is a wonderfully creamy, nutrient-packed delight that’s surprisingly satisfying and keeps you full for hours. It’s packed with fiber, omega-3 fatty acids, and antioxidants, making it a fantastic choice for your well-being. I truly encourage you to give this easy chia seed pudding recipe a try. Once you master the basic version, the possibilities for customization are endless!
For serving suggestions, I love topping my chia seed pudding with fresh berries for a burst of color and sweetness, a sprinkle of crunchy granola for texture, or a drizzle of honey or maple syrup for extra indulgence. You can also get creative with a dollop of Greek yogurt or a scattering of chopped nuts. As for variations, don’t be afraid to experiment! Try adding a spoonful of cocoa powder for a chocolatey twist, a dash of cinnamon for warmth, or a bit of vanilla extract for classic flavor. Blending in some fruit like banana or mango before chilling creates an entirely new flavor profile. The key is to have fun and discover your own favorite combinations!
Frequently Asked Questions:
Why is my chia seed pudding not thickening?
If your chia seed pudding isn’t thickening, it’s usually because of an insufficient ratio of chia seeds to liquid, or not allowing enough time for them to gel. Ensure you’re using the recommended amount of chia seeds (typically 2-3 tablespoons per cup of liquid). Also, make sure to stir thoroughly after mixing to prevent clumps and allow it to chill in the refrigerator for at least 4 hours, or preferably overnight, to give the seeds ample time to absorb the liquid and create that signature pudding texture.
Can I make chia seed pudding ahead of time?
Absolutely! This recipe is perfect for meal prep. You can make a batch of chia seed pudding at the begin extractning of the week and store it in individual containers in the refrigerator. It typically stays fresh and delicious for 3-5 days, making busy mornings a breeze. Just add your favorite toppings right before serving.
Chia Seed Pudding Recipe
A simple and healthy chia seed pudding recipe that’s easy to customize with your favorite flavors and toppings.
Ingredients
-
3 tablespoons chia seeds
-
1 tablespoon maple syrup
-
1 teaspoon vanilla
-
3/4 cup milk of choice
-
1/4 cup berries
-
1 tablespoon nuts
Instructions
-
Step 1
In a bowl or jar, combine the chia seeds, maple syrup, vanilla, and milk of choice. -
Step 2
Stir well to ensure the chia seeds are evenly distributed and there are no clumps. -
Step 3
Let the mixture sit for 5 minutes, then stir again. This helps prevent clumping. -
Step 4
Cover and refrigerate for at least 4 hours, or preferably overnight, until thickened. -
Step 5
Before serving, give it a good stir. -
Step 6
Top with fresh berries and nuts, or your preferred toppings.
Important Information
Nutrition Facts (Per Serving)
It is important to consider this information as approximate and not to use it as definitive health advice.
Allergy Information
Please check ingredients for potential allergens and consult a health professional if in doubt.