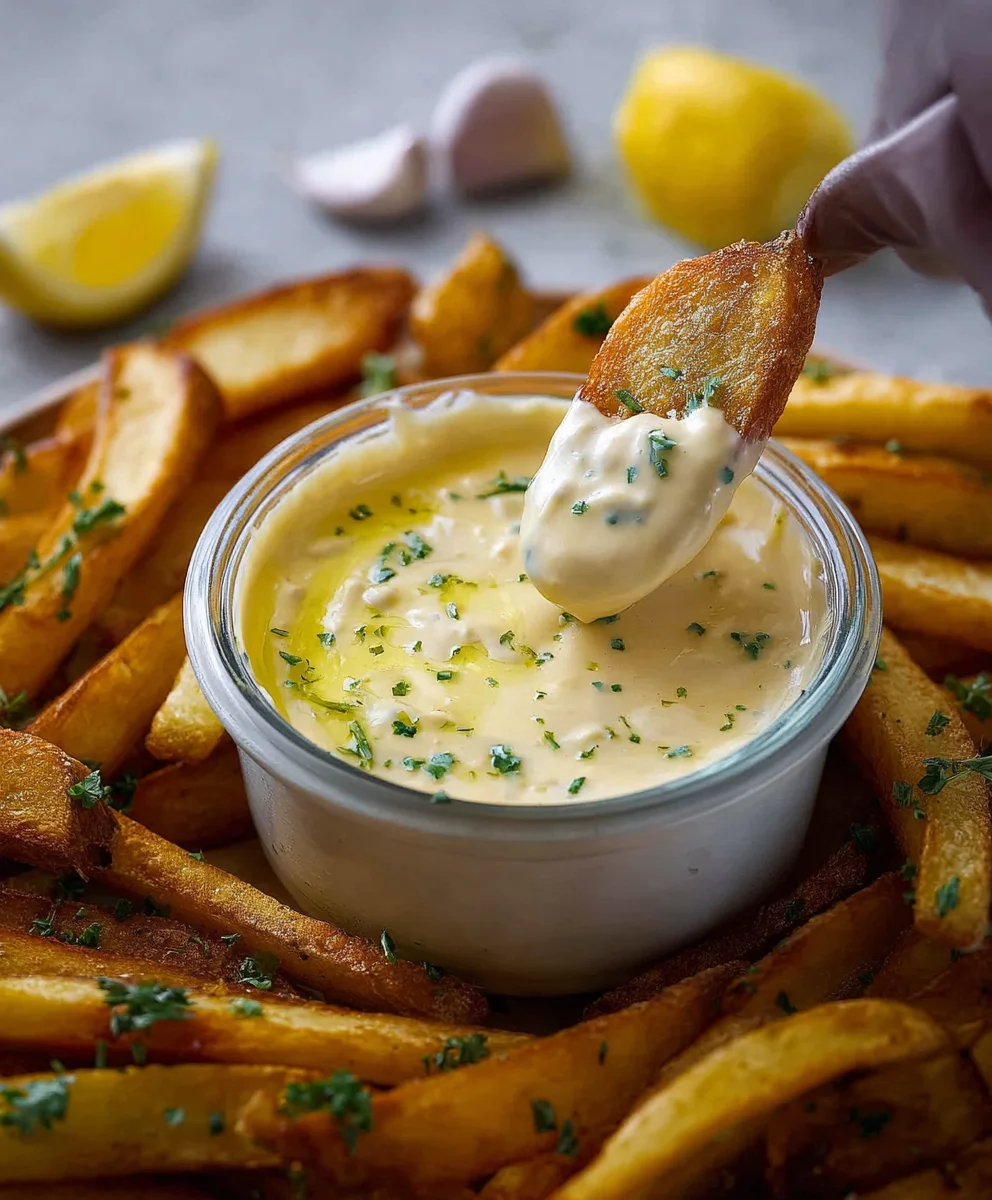
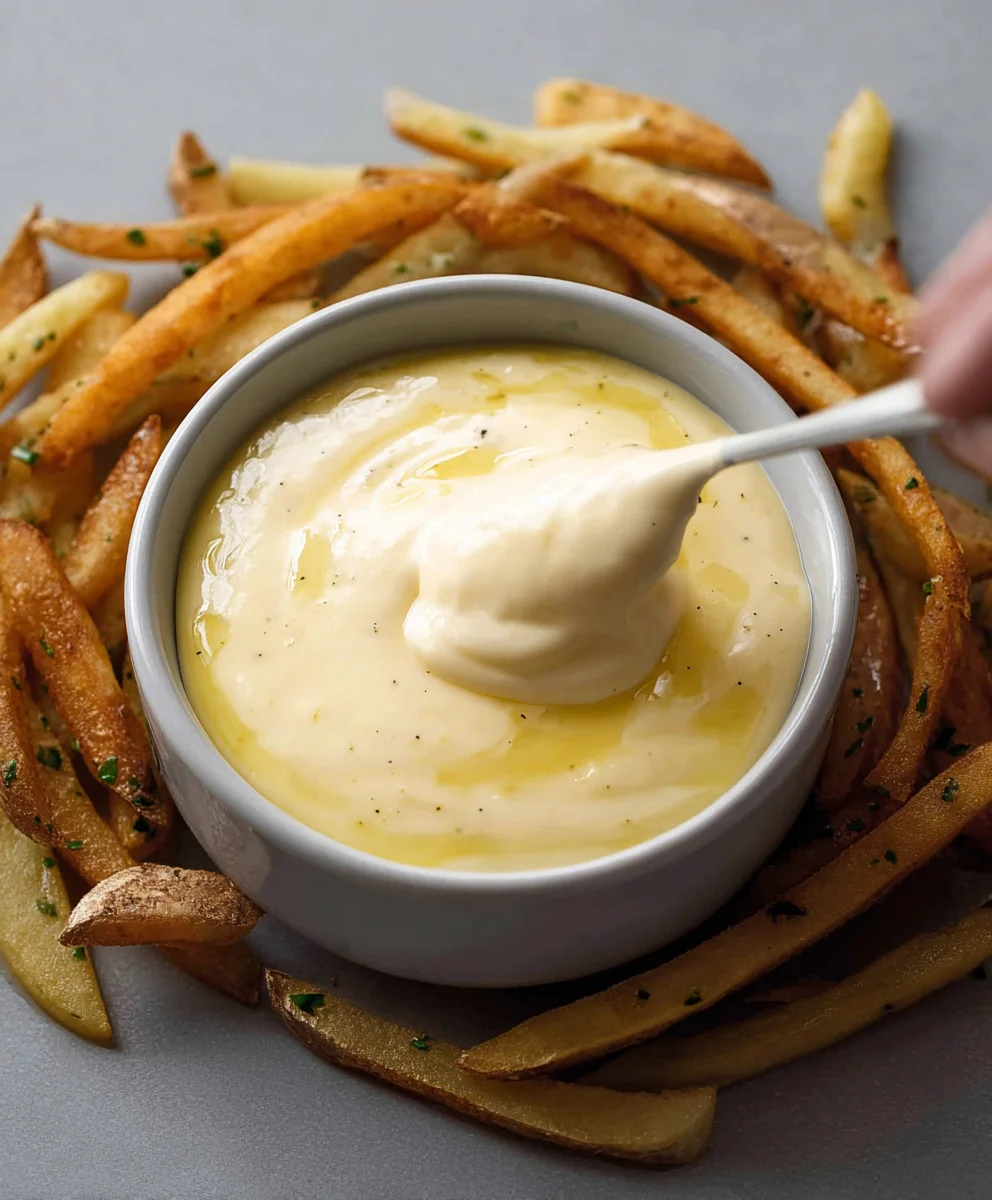
Easy Homemade Aioli Recipe-Garlic Mayo Dip
Aioli recipe – the mere mention of this creamy, garlicky delight is enough to make mouths water and kitchens buzz with anticnon-alcoholic ipation. There’s something incredibly satisfying about a perfectly emulsified aioli, a testament to simple ingredients transformed into culinary magic. We love aioli because it elevates everything it touches, from a humble side of fries to a sophisticated grilled fish. It’s that versatile, that comforting, and that undeniably delicious. What makes a truly special aioli recipe stand out from the rest? It’s in the balance – the pungent bite of fresh garlic, the rich creaminess of good olive oil, and often, a subtle hint of lemon or a pinch of salt that brings it all together. This isn’t just a condiment; it’s a flavor experience, a creamy embrace that adds depth and character to any meal.
Ingredients:
- 1 cup mayonnaise
- 3 tablespoons lemon juice
- ½ teaspoon pepper
- 3 tablespoons garlic, minced
- 1 teaspoon fresh parsley, finely chopped
- 3 tablespoons ketchup
Making Your Zesty Garlic Aioli
This is where the magic happens! Crafting your own aioli is incredibly simple and rewarding. Forget store-bought versions; this homemade aioli recipe delivers a burst of fresh, vibrant flavor that will elevate any dish. We’ll start by gathering our ingredients and then move on to the easy assembly. The beauty of this recipe lies in its simplicity and the punch of flavor it packs, thanks to the fresh garlic and bright lemon juice.
Step 1: Prepare Your Base
In a medium-sized mixing bowl, add your 1 cup of mayonnaise. This forms the creamy foundation of our aioli. Ensure you’re using a good quality mayonnaise; it truly makes a difference in the final texture and flavor. If you have time, let the mayonnaise come to room temperature for about 15-20 minutes before you start. This helps ensure everything emulsifies smoothly, creating a lusciously uniform sauce. However, if you’re in a hurry, room temperature isn’t strictly essential, but it does contribute to a better result. Gently stir the mayonnaise with a whisk or a fork to loosen it up a bit. This initial step primes the mayonnaise for incorporating the other ingredients.
Step 2: Infuse with Citrus and Spice
Next, we’ll introduce the tangy brightness of lemon juice. Carefully measure out 3 tablespoons of fresh lemon juice and pour it into the bowl with the mayonnaise. Freshly squeezed lemon juice is paramount here – bottled lemon juice simply doesn’t have the same vibrant, zesty kick that makes this aioli so special. For the pepper, we’ll add ½ teaspoon. Freshly ground black pepper will give you the most aromatic and flavorful result. If you only have pre-ground pepper, that’s perfectly fine, just be sure to measure it accurately. Give the mixture a good stir with your whisk. You’ll notice the mayonnaise starting to become slightly thinner as the lemon juice is incorporated. This is exactly what we want.
Step 3: The Garlic Powerhouse
Now, for the star of the show: the garlic. We need 3 tablespoons of minced garlic. For the best flavor and texture, mince your garlic finely. You can use a garlic press, a microplane, or a sharp knife. If you’re not a fan of overwhelmingly strong raw garlic, you can lightly sauté the minced garlic in a tablespoon of olive oil until it’s just fragrant and slightly softened before adding it. This mellows out the sharpness while retaining that wonderful garlic essence. However, for a truly potent and classic aioli, raw minced garlic is the way to go. Stir this minced garlic thoroughly into the mayonnaise and lemon juice mixture. Ensure every bit of garlic is evenly distributed so you get that delightful garlic punch in every bite.
Step 4: Adding Freshness and Color
To bring in a touch of freshness and a hint of color, we’ll add the fresh parsley. Finely chop 1 teaspoon of fresh parsley. The vibrant green of the parsley not only looks beautiful but also adds a lovely herbaceous note that complements the garlic and lemon beautifully. Stir the chopped parsley into the aioli. Lastly, for a subtle twist and a beautiful rosy hue, we’ll incorporate the ketchup. Add 3 tablespoons of ketchup to the mixture. While ketchup isn’t a traditional ingredient in classic aioli, it adds a delightful sweetness and a beautiful color, making this a unique and crowd-pleasing variation. Whisk everything together until the ketchup is fully incorporated and the aioli has a uniform, creamy pinkish-orange color.
Step 5: Tasting and Chilling
This is the crucial final step before serving. Give your aioli a taste. Does it need a little more lemon for tang? Perhaps a pinch more pepper? Don’t be afraid to adjust the seasonings to your preference. This is your aioli, so make it perfect for you! Once you’re happy with the flavor profile, cover the bowl tightly with plastic wrap or transfer the aioli to an airtight container. For the best flavor to develop, I highly recommend chilling the aioli in the refrigerator for at least 30 minutes, or preferably an hour. This allows the flavors to meld and deepen, creating a more complex and satisfying taste. The chilling process also helps the aioli thicken slightly, giving it a perfect consistency for dipping and spreading. When you’re ready to serve, give it a quick stir. Your homemade zesty garlic aioli is now ready to impress!
Conclusion:
And there you have it – your very own homemade Aioli Recipe, ready to elevate any dish! This versatile condiment is surprisingly simple to make, and the satisfaction of creating it from scratch is immense. We’ve covered the classic preparation, but as you’ve seen, the possibilities are truly endless. Don’t be afraid to experiment with different flavor infusions to truly make this Aioli Recipe your own.
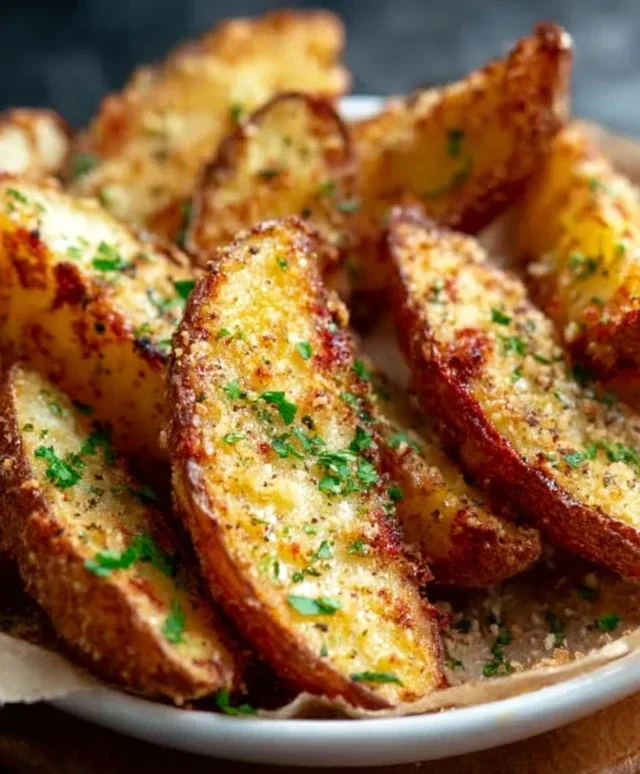
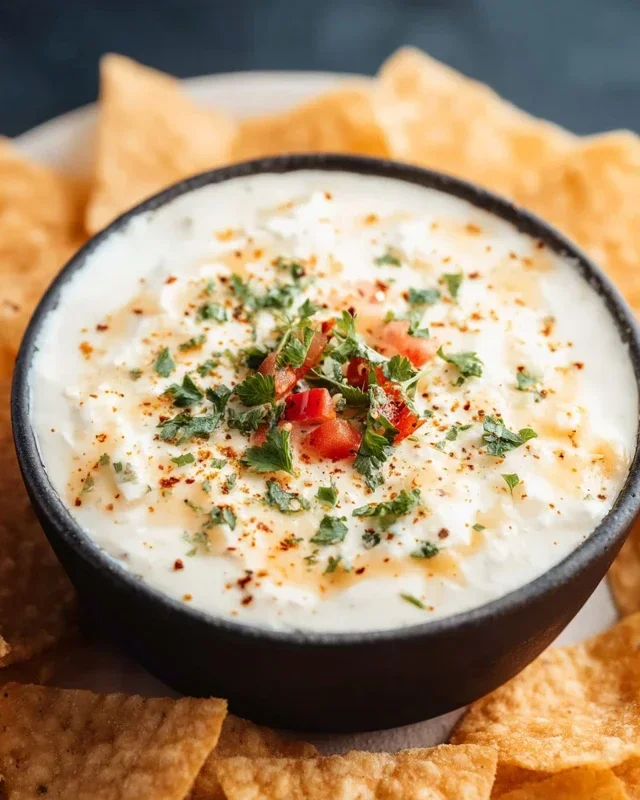
Serve this luscious aioli alongside roasted vegetables, grilled meats, seafood, or as a decadent dip for fries and crudités. It also makes a fantastic sandwich spread, adding a gourmet touch to your everyday meals. For a touch of sophistication, consider a drizzle of smoked paprika aioli over grilled fish or a spicy sriracha aioli with fried chicken.
We hope you enjoy making and savoring this delicious Aioli Recipe. Remember, cooking is an adventure, so have fun with it!
Frequently Asked Questions:
Q: How long will my homemade Aioli Recipe last?
A: Properly stored in an airtight container in the refrigerator, your homemade Aioli Recipe should last for about 5-7 days. It’s always best to use it fresh for the most vibrant flavor.
Q: My aioli looks like it’s breaking or oily. What went wrong?
A: This often happens if the oil is added too quickly or if the ingredients aren’t at room temperature. If your aioli breaks, don’t despair! You can try to rescue it by whisking a fresh egg yolk in a clean bowl and very slowly drizzling in the broken mixture, as if you were starting over. Alternatively, if you’ve used raw egg, ensure all your ingredients are at room temperature before you begin extract.
Q: Can I make this Aioli Recipe without raw egg?
A: Yes, you can! For an egg-free version, you can use aquafaba (the liquid from a can of chickpeas) as a substitute for the egg yolk. You’ll likely need to emulsify it similarly to how you would an egg yolk. Some recipes also use silken tofu as a base for a creamy, egg-free aioli.
Easy Homemade Aioli Recipe-Garlic Mayo Dip
A simple and flavorful homemade aioli recipe, perfect as a garlic mayo dip for any dish. This recipe uses fresh ingredients for a vibrant taste.
Ingredients
-
1 cup mayonnaise
-
3 tablespoons lemon juice
-
1/2 teaspoon pepper
-
3 tablespoons garlic, minced
-
1 teaspoon fresh parsley, finely chopped
-
3 tablespoons ketchup
Instructions
-
Step 1
In a medium bowl, add 1 cup of mayonnaise. If possible, let it reach room temperature for 15-20 minutes. Gently stir to loosen it. -
Step 2
Add 3 tablespoons of fresh lemon juice and 1/2 teaspoon of freshly ground black pepper to the mayonnaise. Stir well until combined. The mixture will become slightly thinner. -
Step 3
Incorporate 3 tablespoons of finely minced garlic into the mixture. Stir thoroughly to ensure the garlic is evenly distributed. -
Step 4
Add 1 teaspoon of finely chopped fresh parsley for freshness and color. Then, stir in 3 tablespoons of ketchup for sweetness and a rosy hue. Whisk until fully incorporated and the color is uniform. -
Step 5
Taste the aioli and adjust seasonings (lemon juice, pepper) to your preference. Cover the bowl tightly or transfer to an airtight container. Chill in the refrigerator for at least 30 minutes, or preferably an hour, to allow flavors to meld and the aioli to thicken. -
Step 6
Give the chilled aioli a quick stir before serving. Your homemade zesty garlic aioli is now ready to enjoy!
Important Information
Nutrition Facts (Per Serving)
It is important to consider this information as approximate and not to use it as definitive health advice.
Allergy Information
Please check ingredients for potential allergens and consult a health professional if in doubt.